1.2. Installing Python#
The most challenging thing about working with Python (or any programming language) is learning how to install it correctly. Why is this such a challenge? Because installing Python differs dramatically by operating system and version of operating system. I present to you five different ways you can start programming Python from the easiest to the more challenging.
Using the Trinket applications embedded throughout this textbook.
Using Google Colab for each each individual section of the textbook
Using the free built-in Binder feature of this textbook
Using a free online Jupyter Notebook
Installing Python locally via Anaconda Navigator and using Jupyter-Lab
If you are entirely new to programming, I recommend ignoring options 2-4 and simply using option 1 during the first part of this textbook. In my experience, it is important early in your programming journey to have as few roadblocks as possible. If you are interested in jumping in with Python as quickly as possible, then use the freely available Trinket widgets in the online version of this textbook and return to the installation of Python at a later time.
1.2.1. Trinket#
Throughout this textbook, you will see Trinket applications embedded within each page. Trinket allows you to practice your coding skills without ever installing Python. If you are new to coding and want to get started immediately without installing Python, I recommend working with Trinket inside the digital version of this textbook.
These will allow for you to practice the lesson right inside the digital textbook. The Trinket applications look like this:
from IPython.display import IFrame
IFrame('https://trinket.io/embed/python3/3fe4c8f3f4', 700, 500)
You will be able to write your code inside this Trinket application and then click the play button at the top. This will execute your code and populate the results on the right hand output.
1.2.2. Using Google Colab#
During the first part of the textbook, nearly all code can be executed with Trinket. Even the section on Pandas can be done inside of Trinket. However, the later sections will be increasingly difficult as they require libraries that are not supported by Trinket. At this time, you will want to consider another option. Again, to delay the installation of Python on your machine, we can rely on other cloud-based alternatives.
There are two options for running this textbook’s code in the cloud outside of the textbook: Google Colab and Binder (addressed below). In the top right corner of each page is a rocket ship. If you hold your mouse of this rocket ship, you will have two options to choose from, Binder or Colab. Click Colab.
Fig. 1.1 Picture of Rocket Ship in Top-Right corner of online JupyterBook.#
Once you click the Colab button you will be taken to Google Colab and see a Notebook inside the Google Colab system that should look like this:
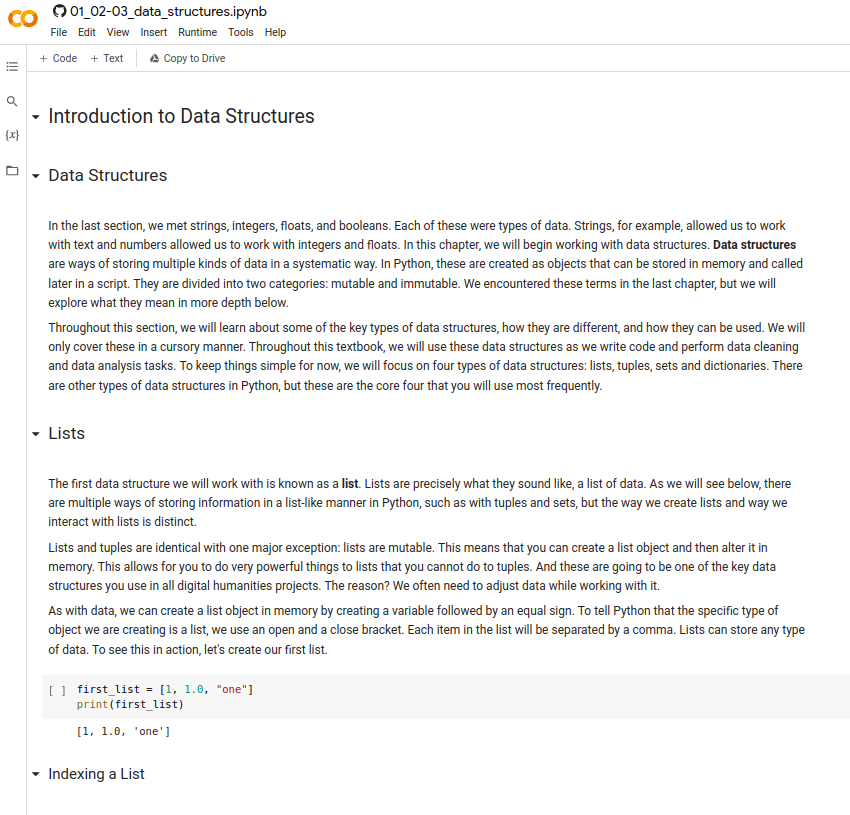
Fig. 1.2 Demo of Google Colab Opened#
Once here, you can run the notebook.
Colab and Binder have their advantages. Google Colab will be far quicker but will require you to install the requisite libraries for each page. For most of the first part of the textbook, this will not be necessary as we will not be working with libraries. You will learn how to install libraries locally and in a Jupyter Notebook (like those used on Google Colab) later in this part of the textbook. Once the libraries are installed, the entire notebook can be run as if you were running the notebook locally. A downside to Google Colab is its inability to leverage the data found within this textbook. This means that in some cases, you will need to manually upload the data into Google Colab for some notebooks to run as expected.
Another benefit of Google Colab is that it is connected to your Google account. This means any changes that you make to the notebook can be saved onto your Google Drive and used at a later date. Each time you open the notebook, however, a unique instance of Python is created which means you will need to reinstall your libraries. Fortunately, this process is quite quick.
1.2.3. Using Binder from this JupyterBook#
Another cloud-based solution is with Binder. Unlike Google Colab, Binder will load up an environment for the entire textbook and install all libraries using the requirements.txt file found in this textbook’s repository on GitHub. This means that Binder will take substantially longer to load, but will contain the entire textbook. It will save the instance for a period of time as well so that if you return to the same link in a short period of time, there is a chance it will not have to reinstall all the libraries again. In my experience, Binder can run into some issues that can be difficult to diagnose, especially if you are new to programming. For this reason, I would recommend Google Colab over Binder to new programmers.
As with Google Colab, to begin, put your mouse over the rocket ship icon in the top-left portion of the page.
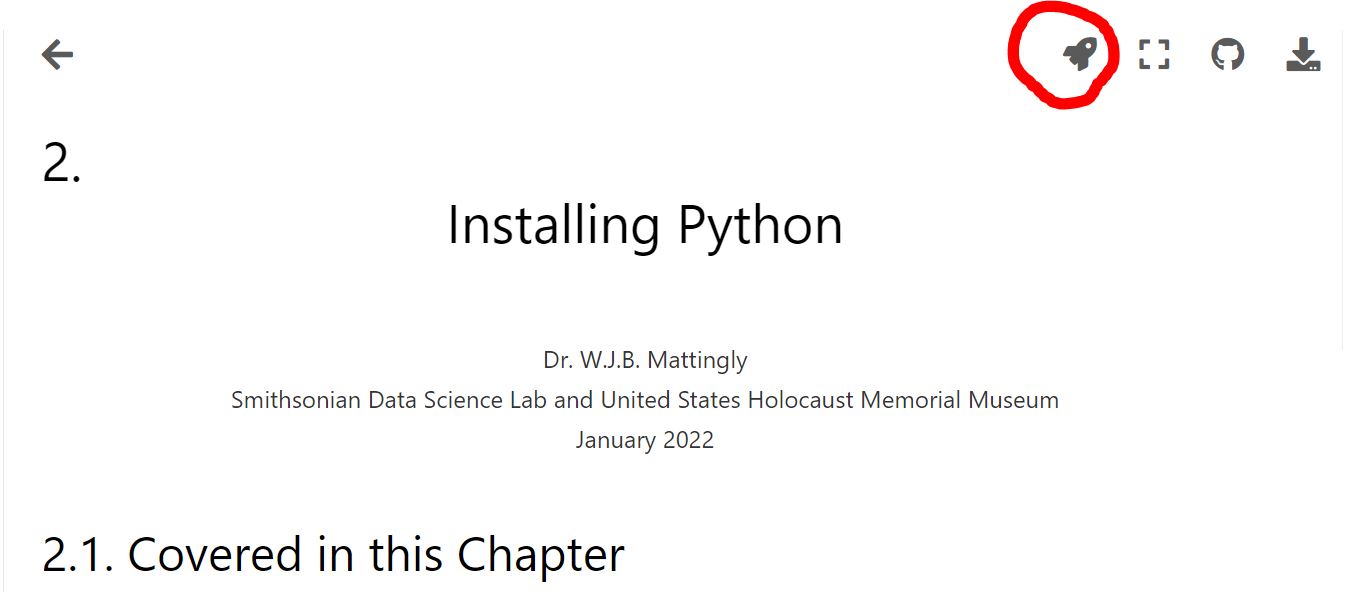
Fig. 1.3 Demonstration of Rocket Ship in Top-Right Corner#
A button that says binder should emerge that says “Binder”. Click it.

Fig. 1.4 Selecting the Binder Button.#
At this stage, your screen should look like this:
If it does, then sit back and relax. It may take a few minutes as binder builds the environment. Once Binder is finished, click on File in the top left corner of the screen and then select New Notebook.

Fig. 1.5 Creating a New Notebook in Binder.#
After this, select Python 3 (ipykernal). This will open a fresh, new notebook.

Fig. 1.6 Selecting the Python 3 Kernal for the New Notebook.#
Now you should have a new notebook that looks like this:
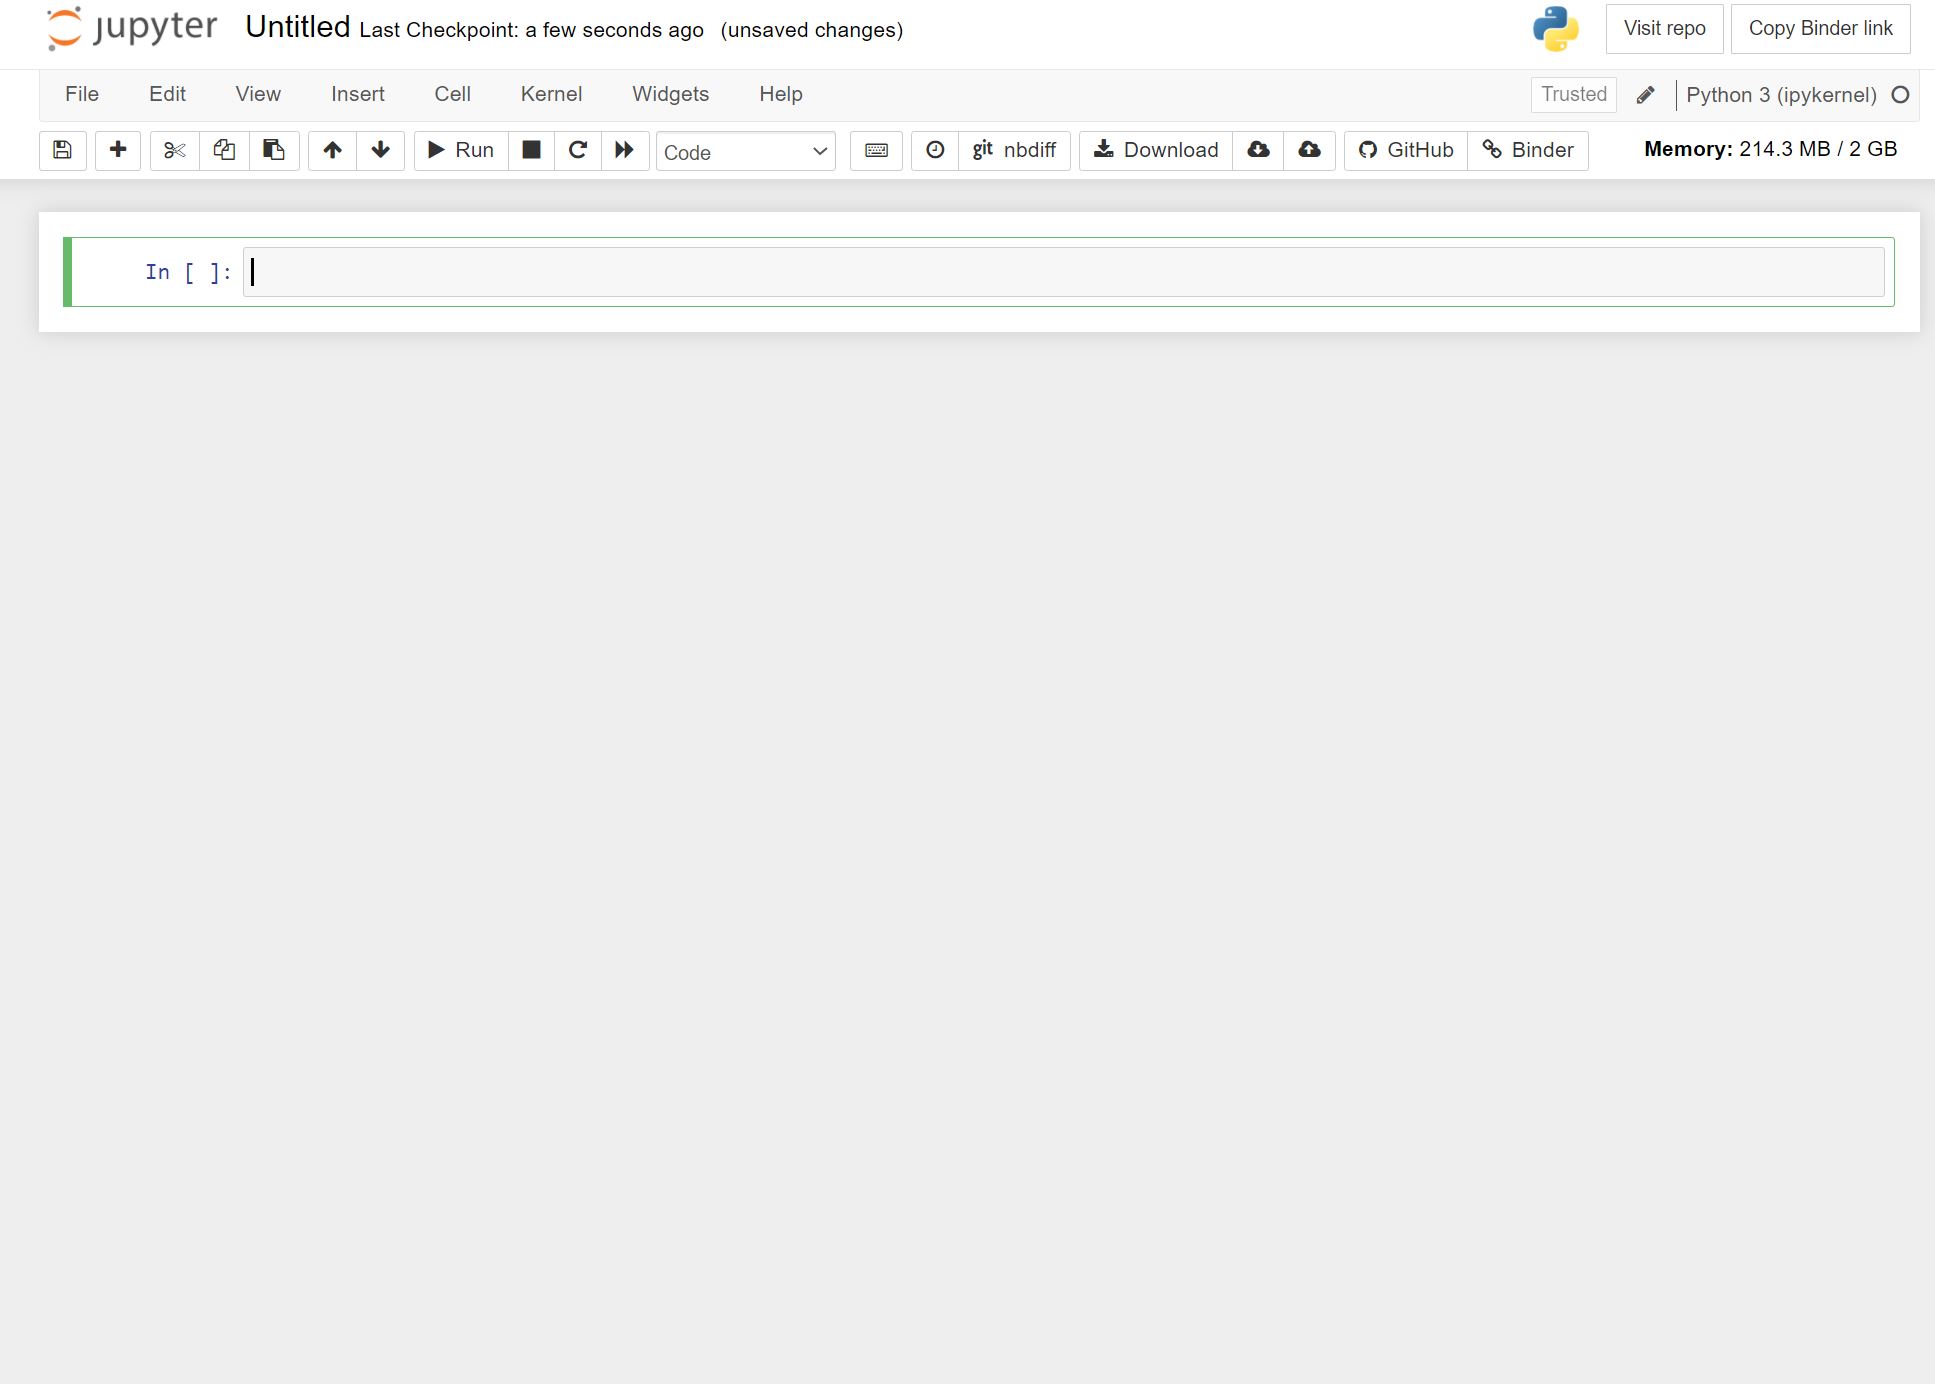
Fig. 1.7 Example of a New Notebook Page.#
And now, you can fully follow along with this textbook.
1.2.4. Using Jupyter Notebooks Online#
If you want to be a bit more independent and learn how to code in Python online without Binder and this textbook, you can! You do not need to download and install Python on your local computer either. Instead, you can use free online compilers that allow you follow along with nearly all of this textbook without issue.
If this is your view at the moment, then click the link this link: https://jupyter.org/try
Once on the page click the picture that says Jupyter Notebook
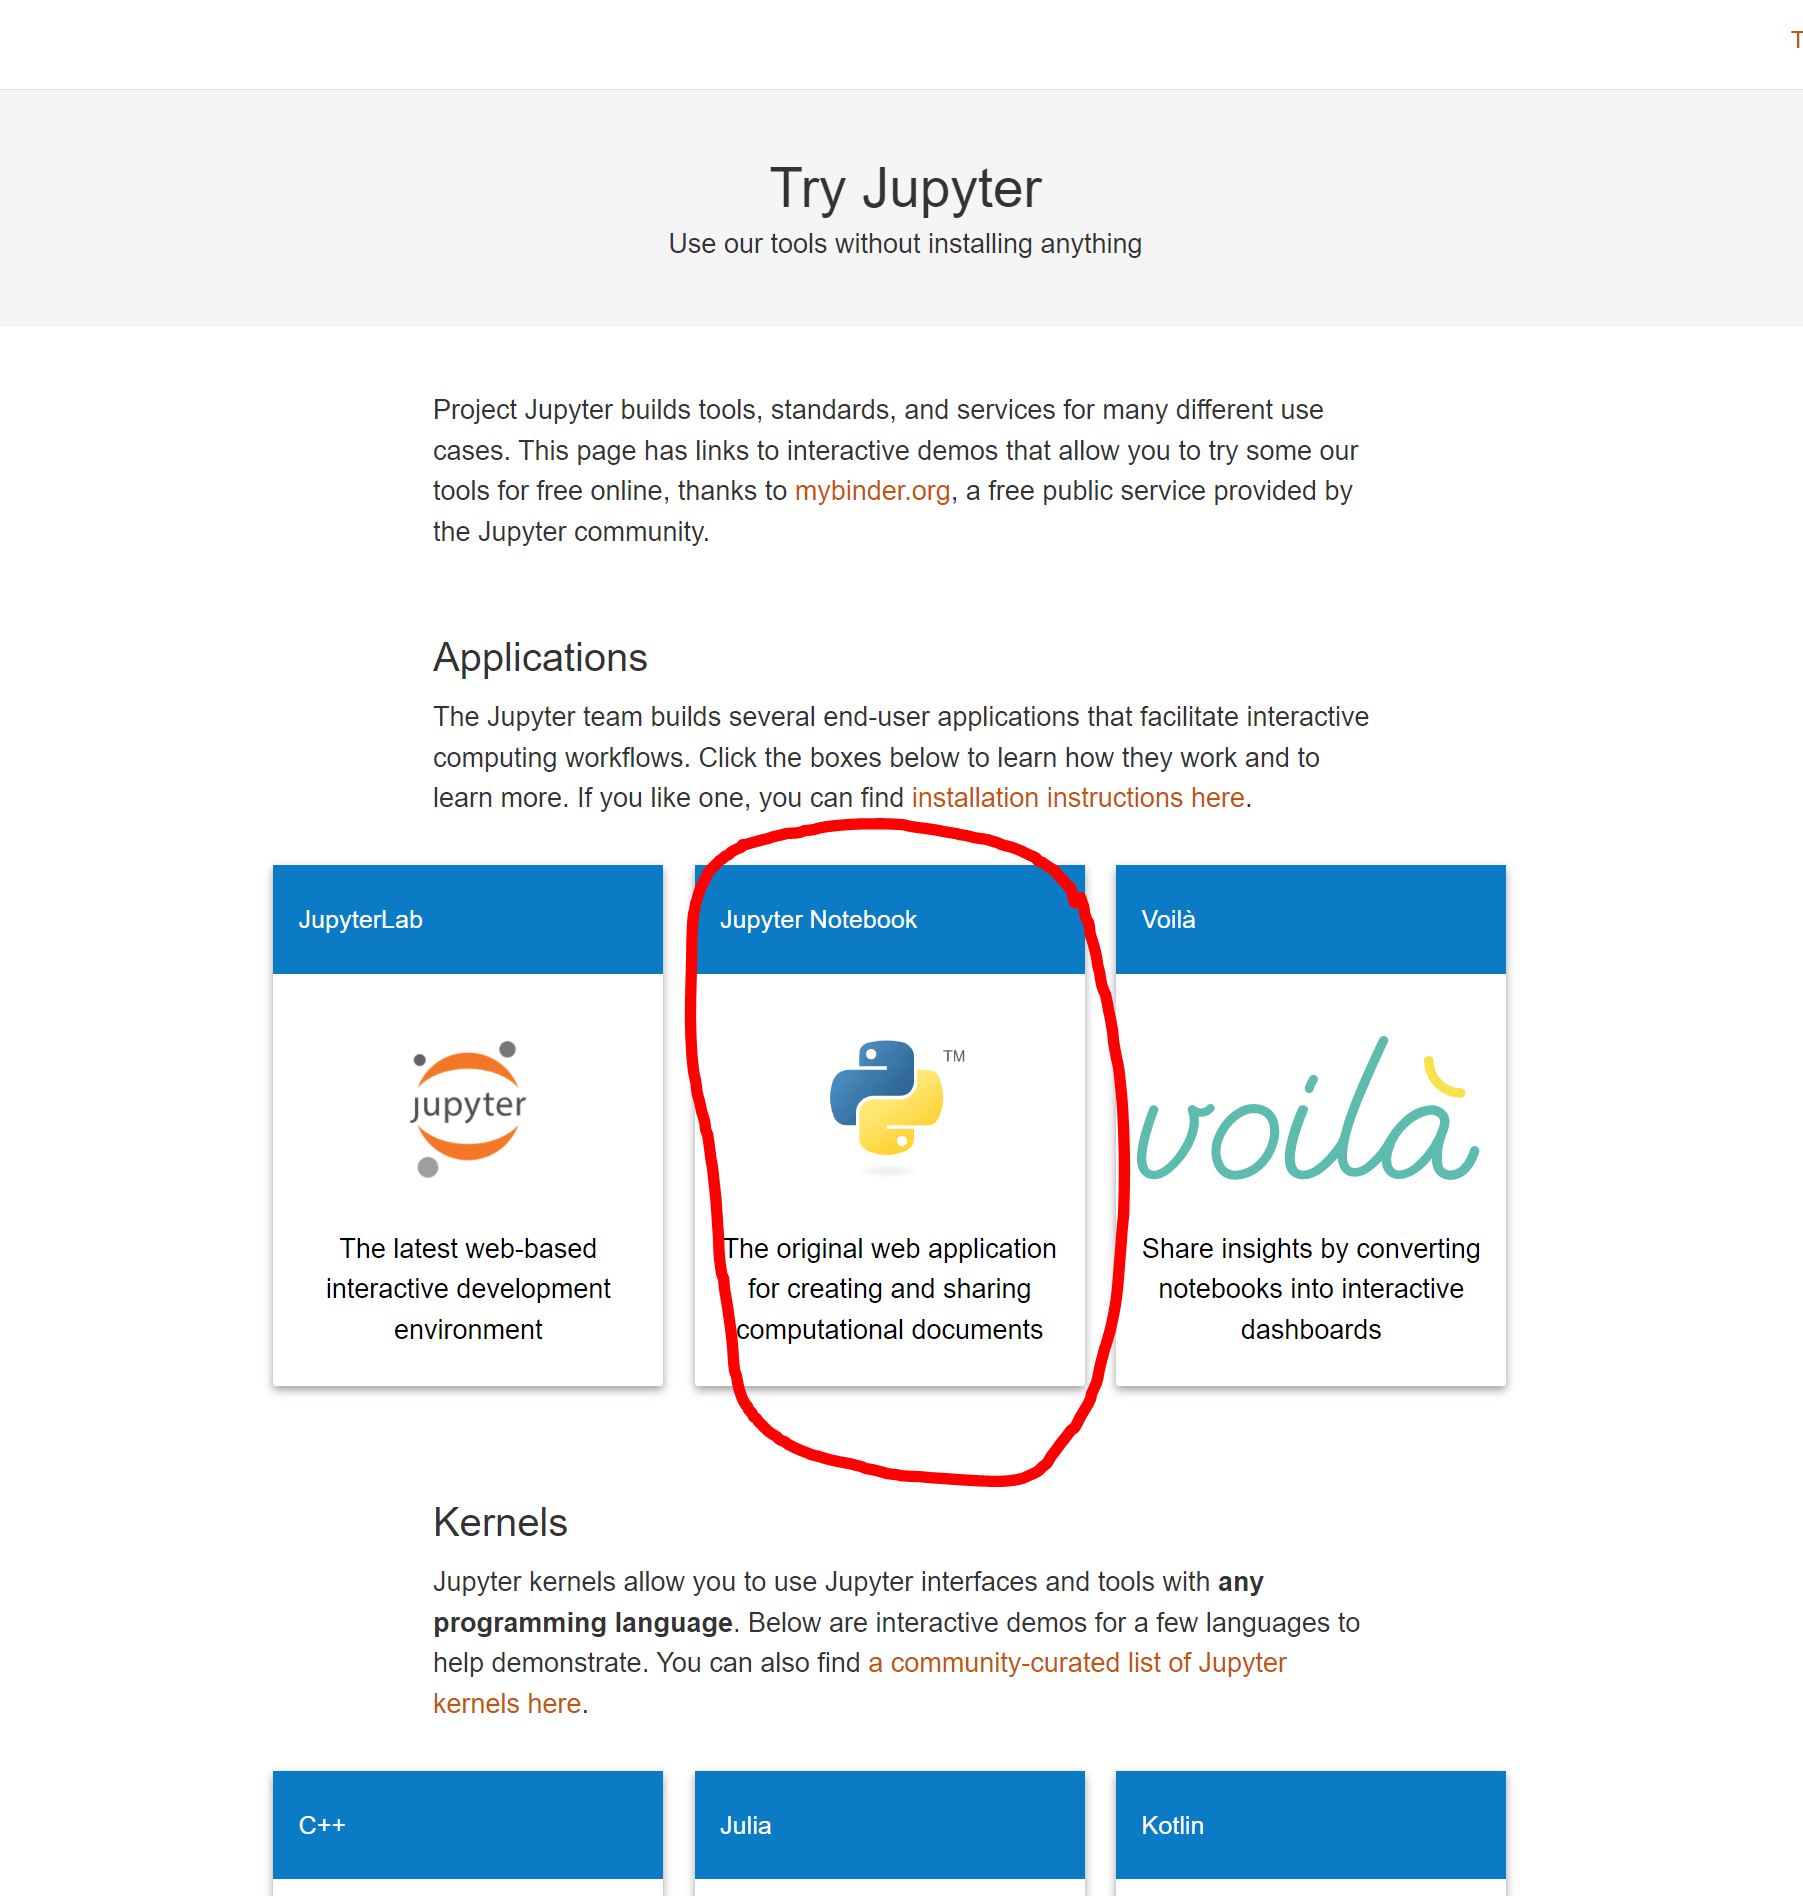
Fig. 1.8 Creating a Jupyter Notebook Online.#
After that, you will see a screen that looks like this:
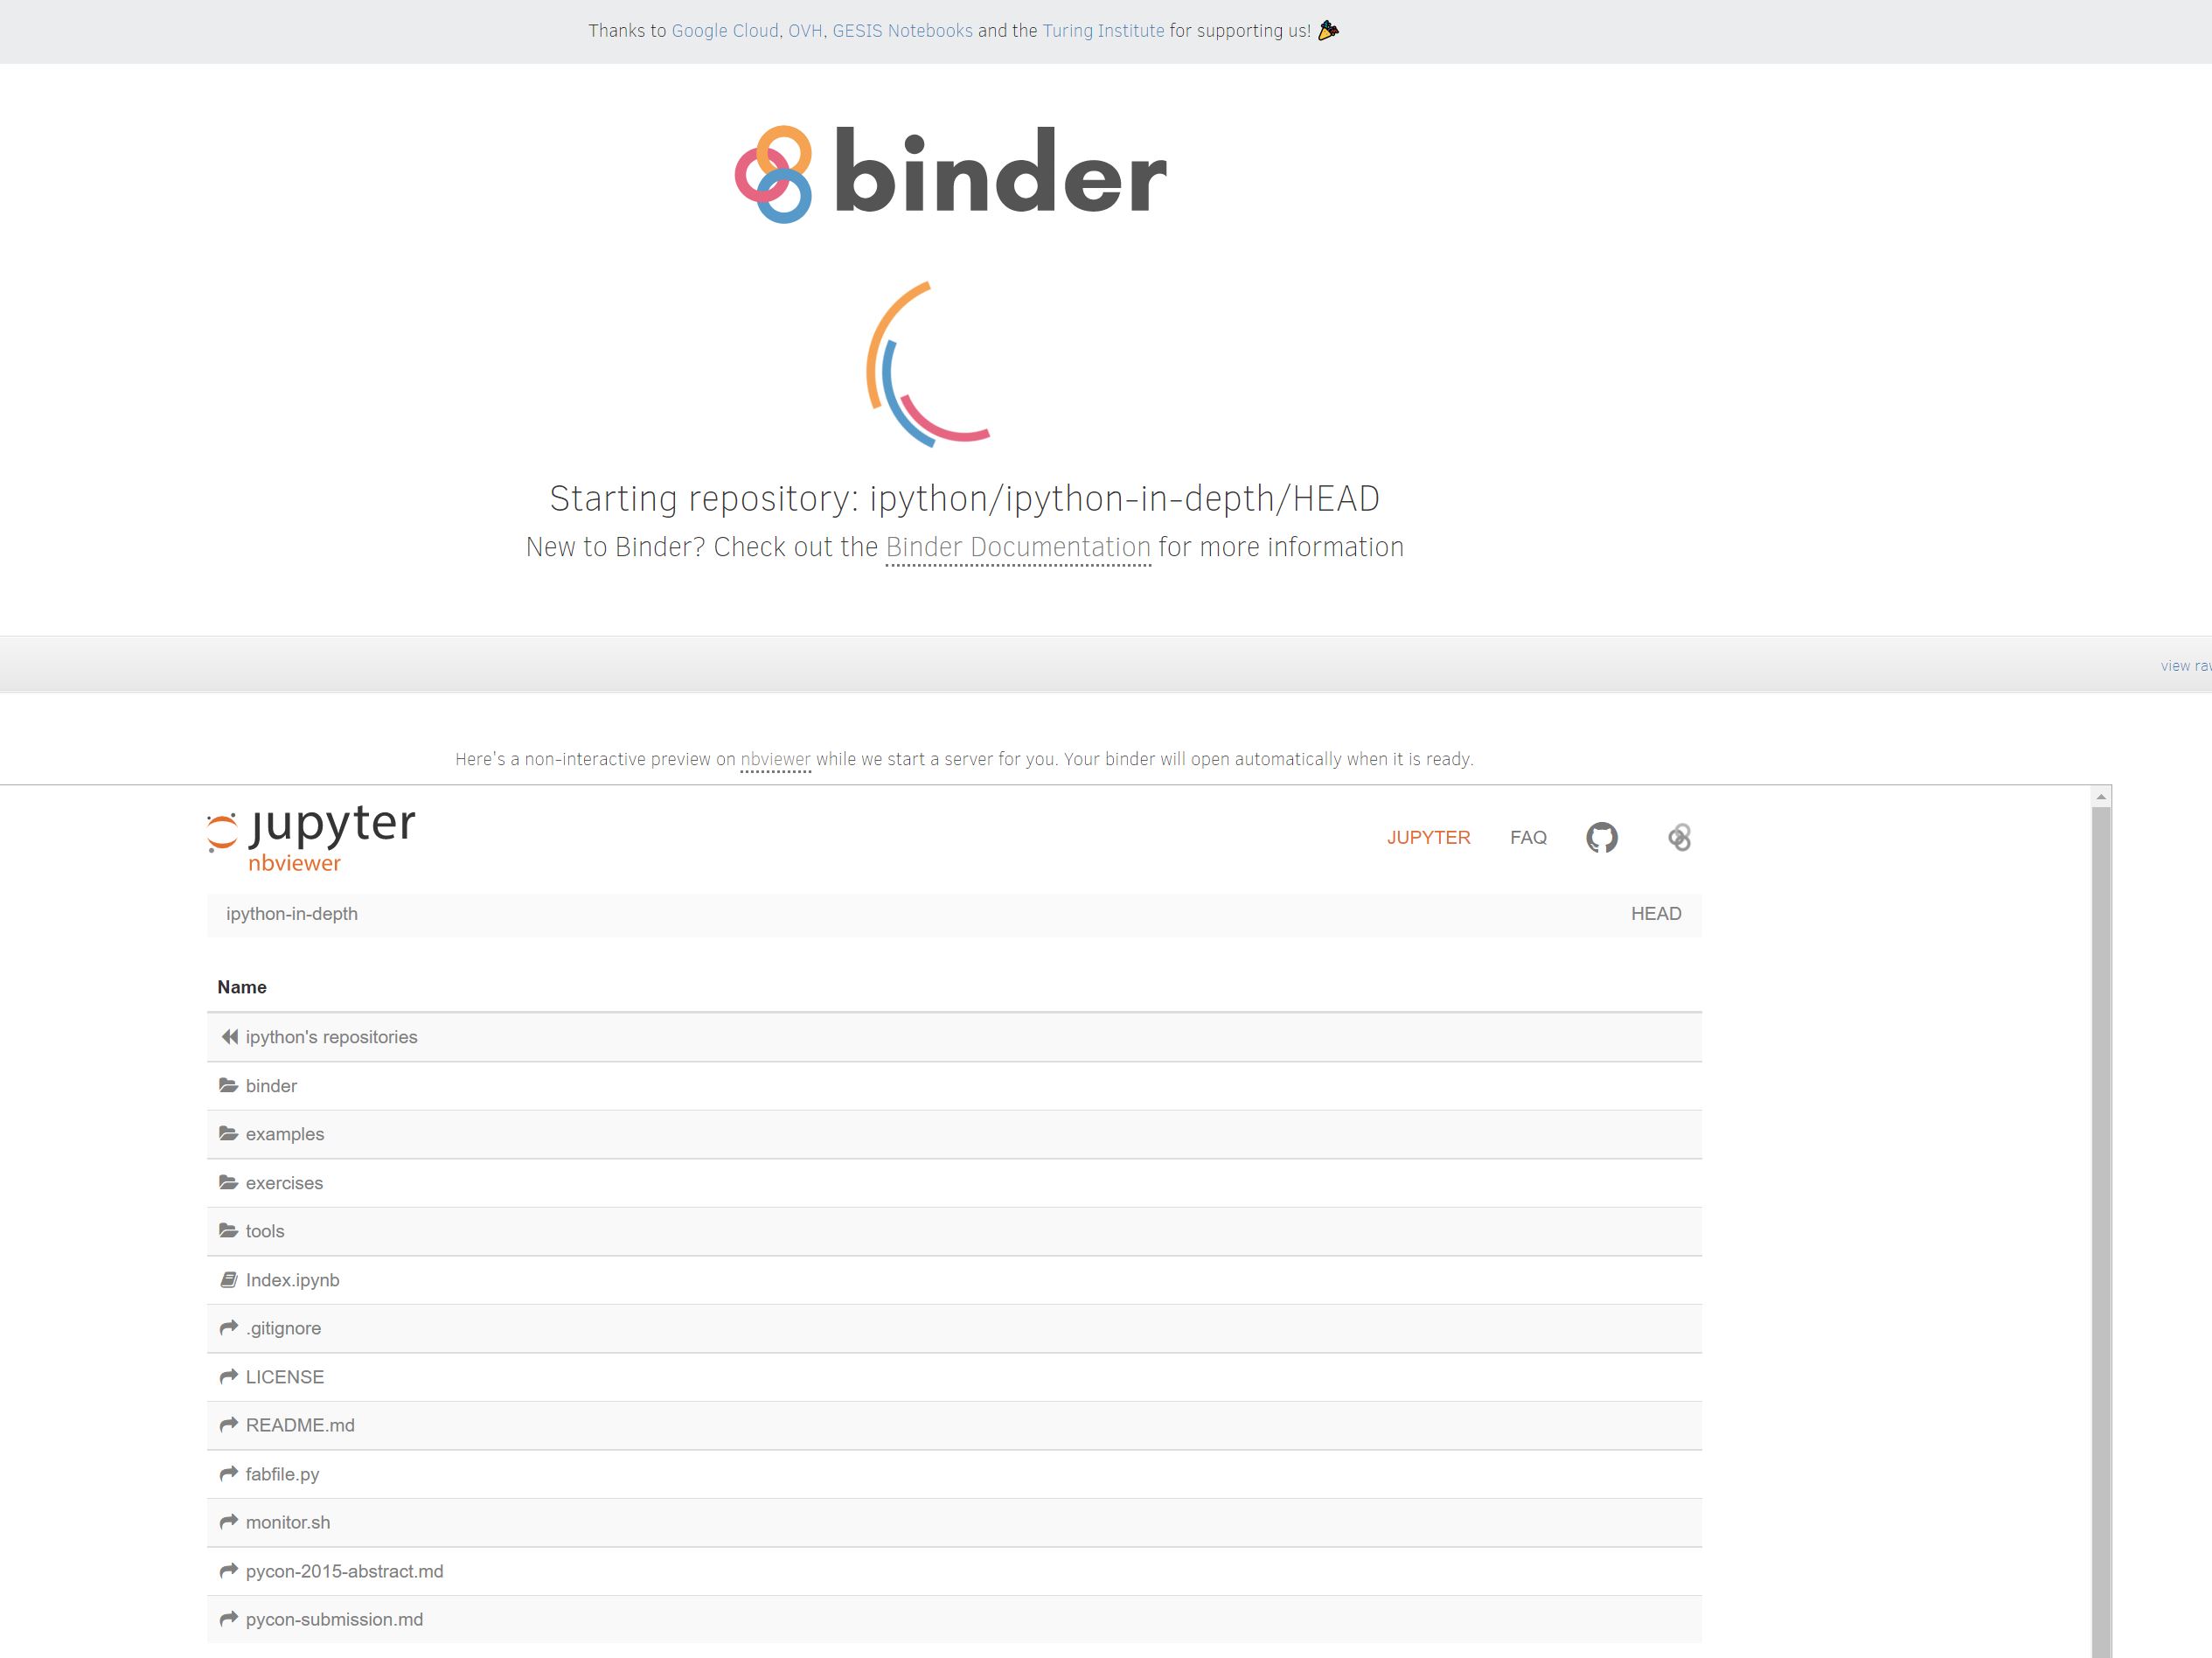
Fig. 1.9 Binder Creating a New Environment for the Notebook.#
After a few minutes, the environment will load and you should see a notebook. Click File in the top left corner, New Notebook, and Select Python 3.
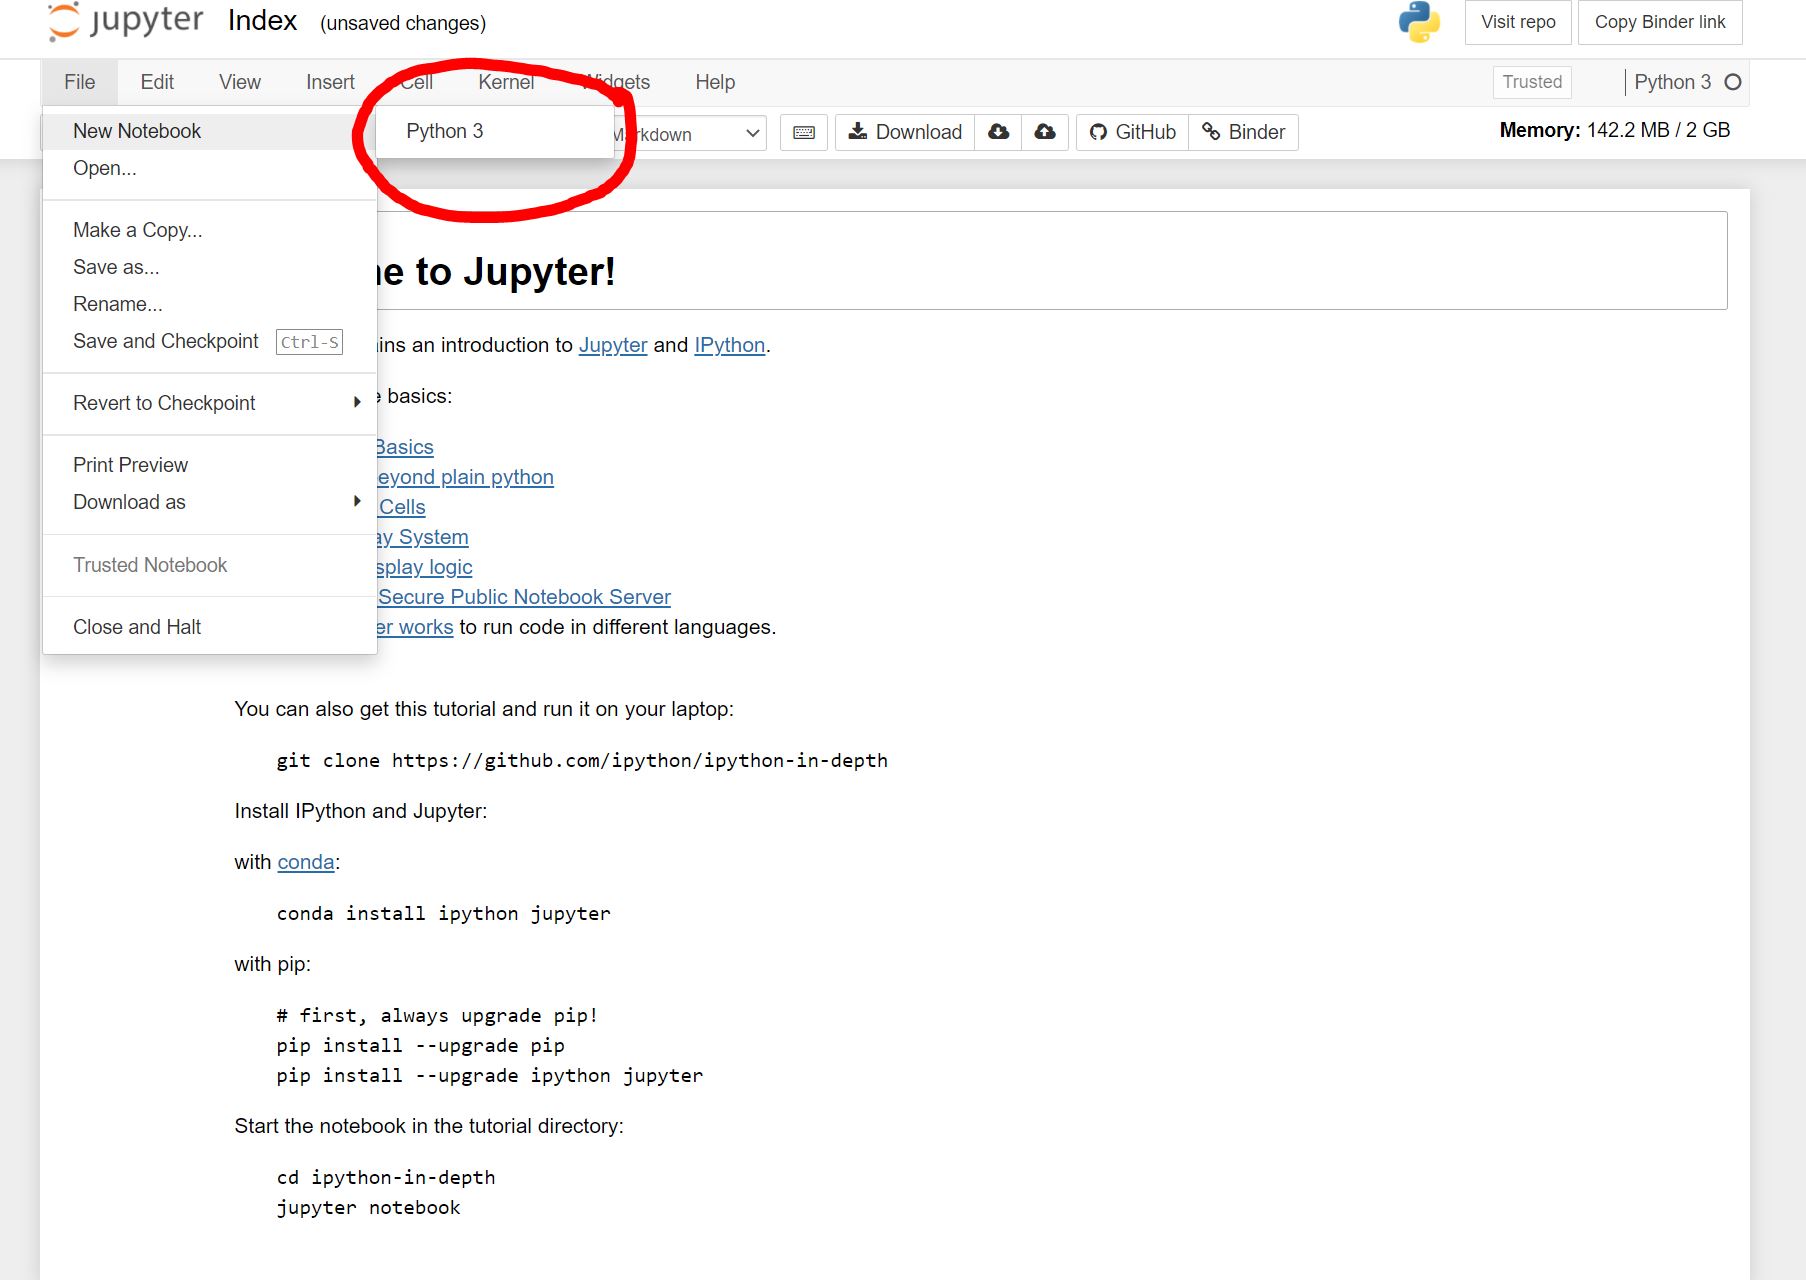
Fig. 1.10 Creating a New Notebook.#
Once loaded, you can following along with this textbook in this new notebook.
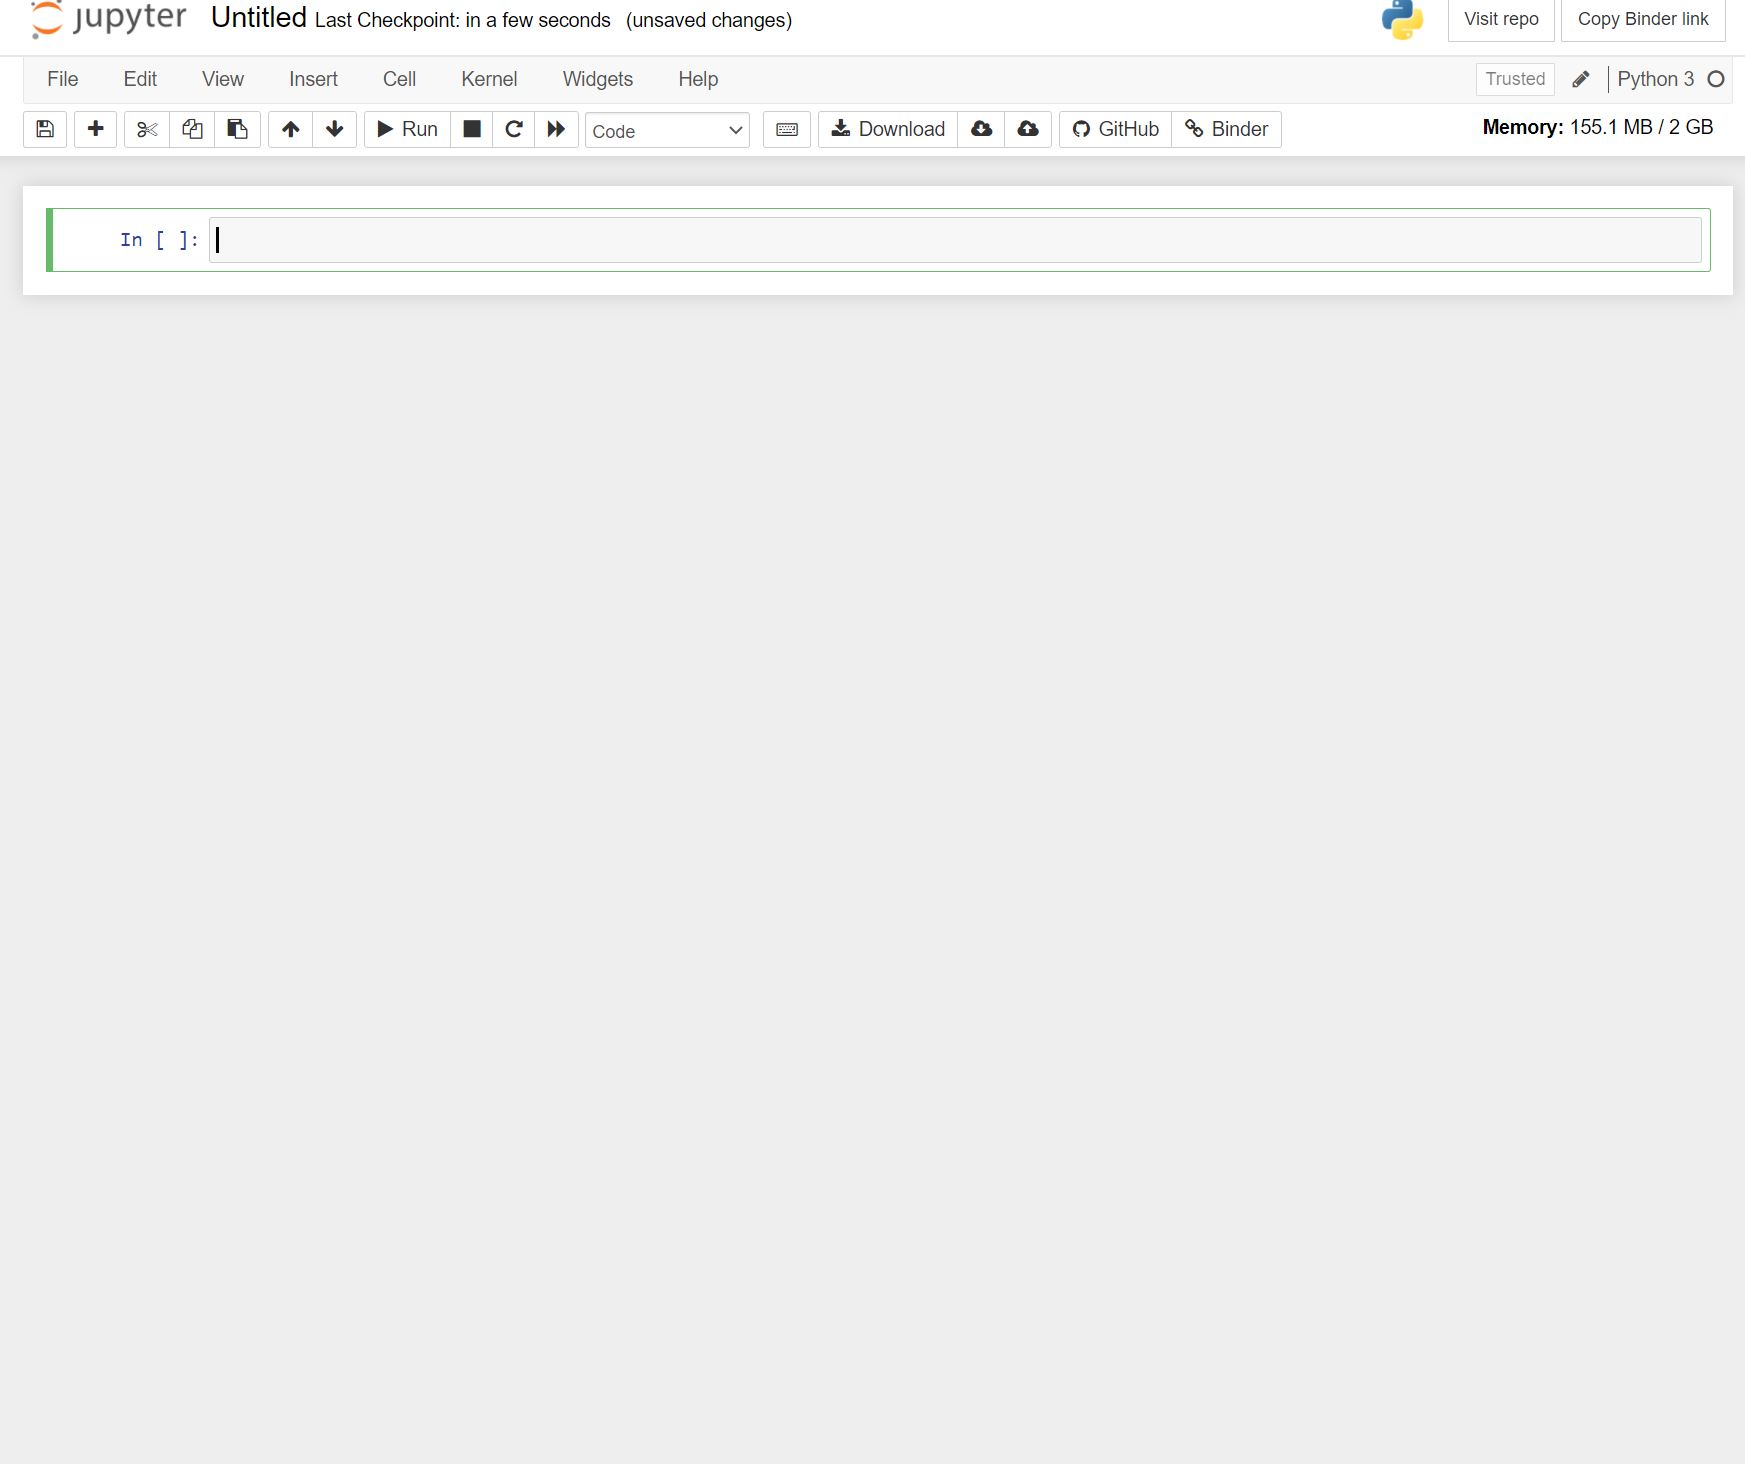
Fig. 1.11 Example of a New Notebook.#
1.2.5. Installing Python Locally#
If you wish to install Python locally and it is your first time, there are many problems that can surface. For this reason, I am now recommending all students install via Anaconda Navigator. It adds extra steps into the installation process, but it eliminates the potential for mistakes to occur.
Anaconda Navigator is a user-friendly interface that handles the installation process for you. It also allows for you to create environments, which are small areas on your computer that have a unique version of Python and libraries installed. We will learn more about this in Part 06 when we explore libraries.
In this chapter, I will walk you through the steps of installing Anaconda Navigator on your machine, regardless of operating system.
When we write code in Python, we do so a few different ways, depending on that code’s use. Because this is a textbook and the code I am writing is for presentation purposes, I am using a Jupyter Notebook. Other times, you may write a program in an IDE, or an Integrated Development Environment. Some of these include PyCharm, Atom, etc. In other cases, you will use Python in the terminal to perform quick tasks on data in a directory.
Anaconda Navigator removes the need for you to learn how to do all of this because it allows for you to easily install Jupyter-Lab which functions like an IDE but is a bit more forgiving. In addition, you can call terminal sessions. I know these terms do not make sense right now, but as your understanding of programming expands, this paragraph will make more sense. For now, simply understand that Anaconda Navigator and Jupyter-Lab (both of which we install in this chapter), make your start to learning to code much, much simpler.
1.2.5.1. Download Anaconda Navigator#
In order to download Anaconda Navigator go to this link here: https://www.anaconda.com/. Next, hover over Products and select Individual Edition, as seen in the image below.
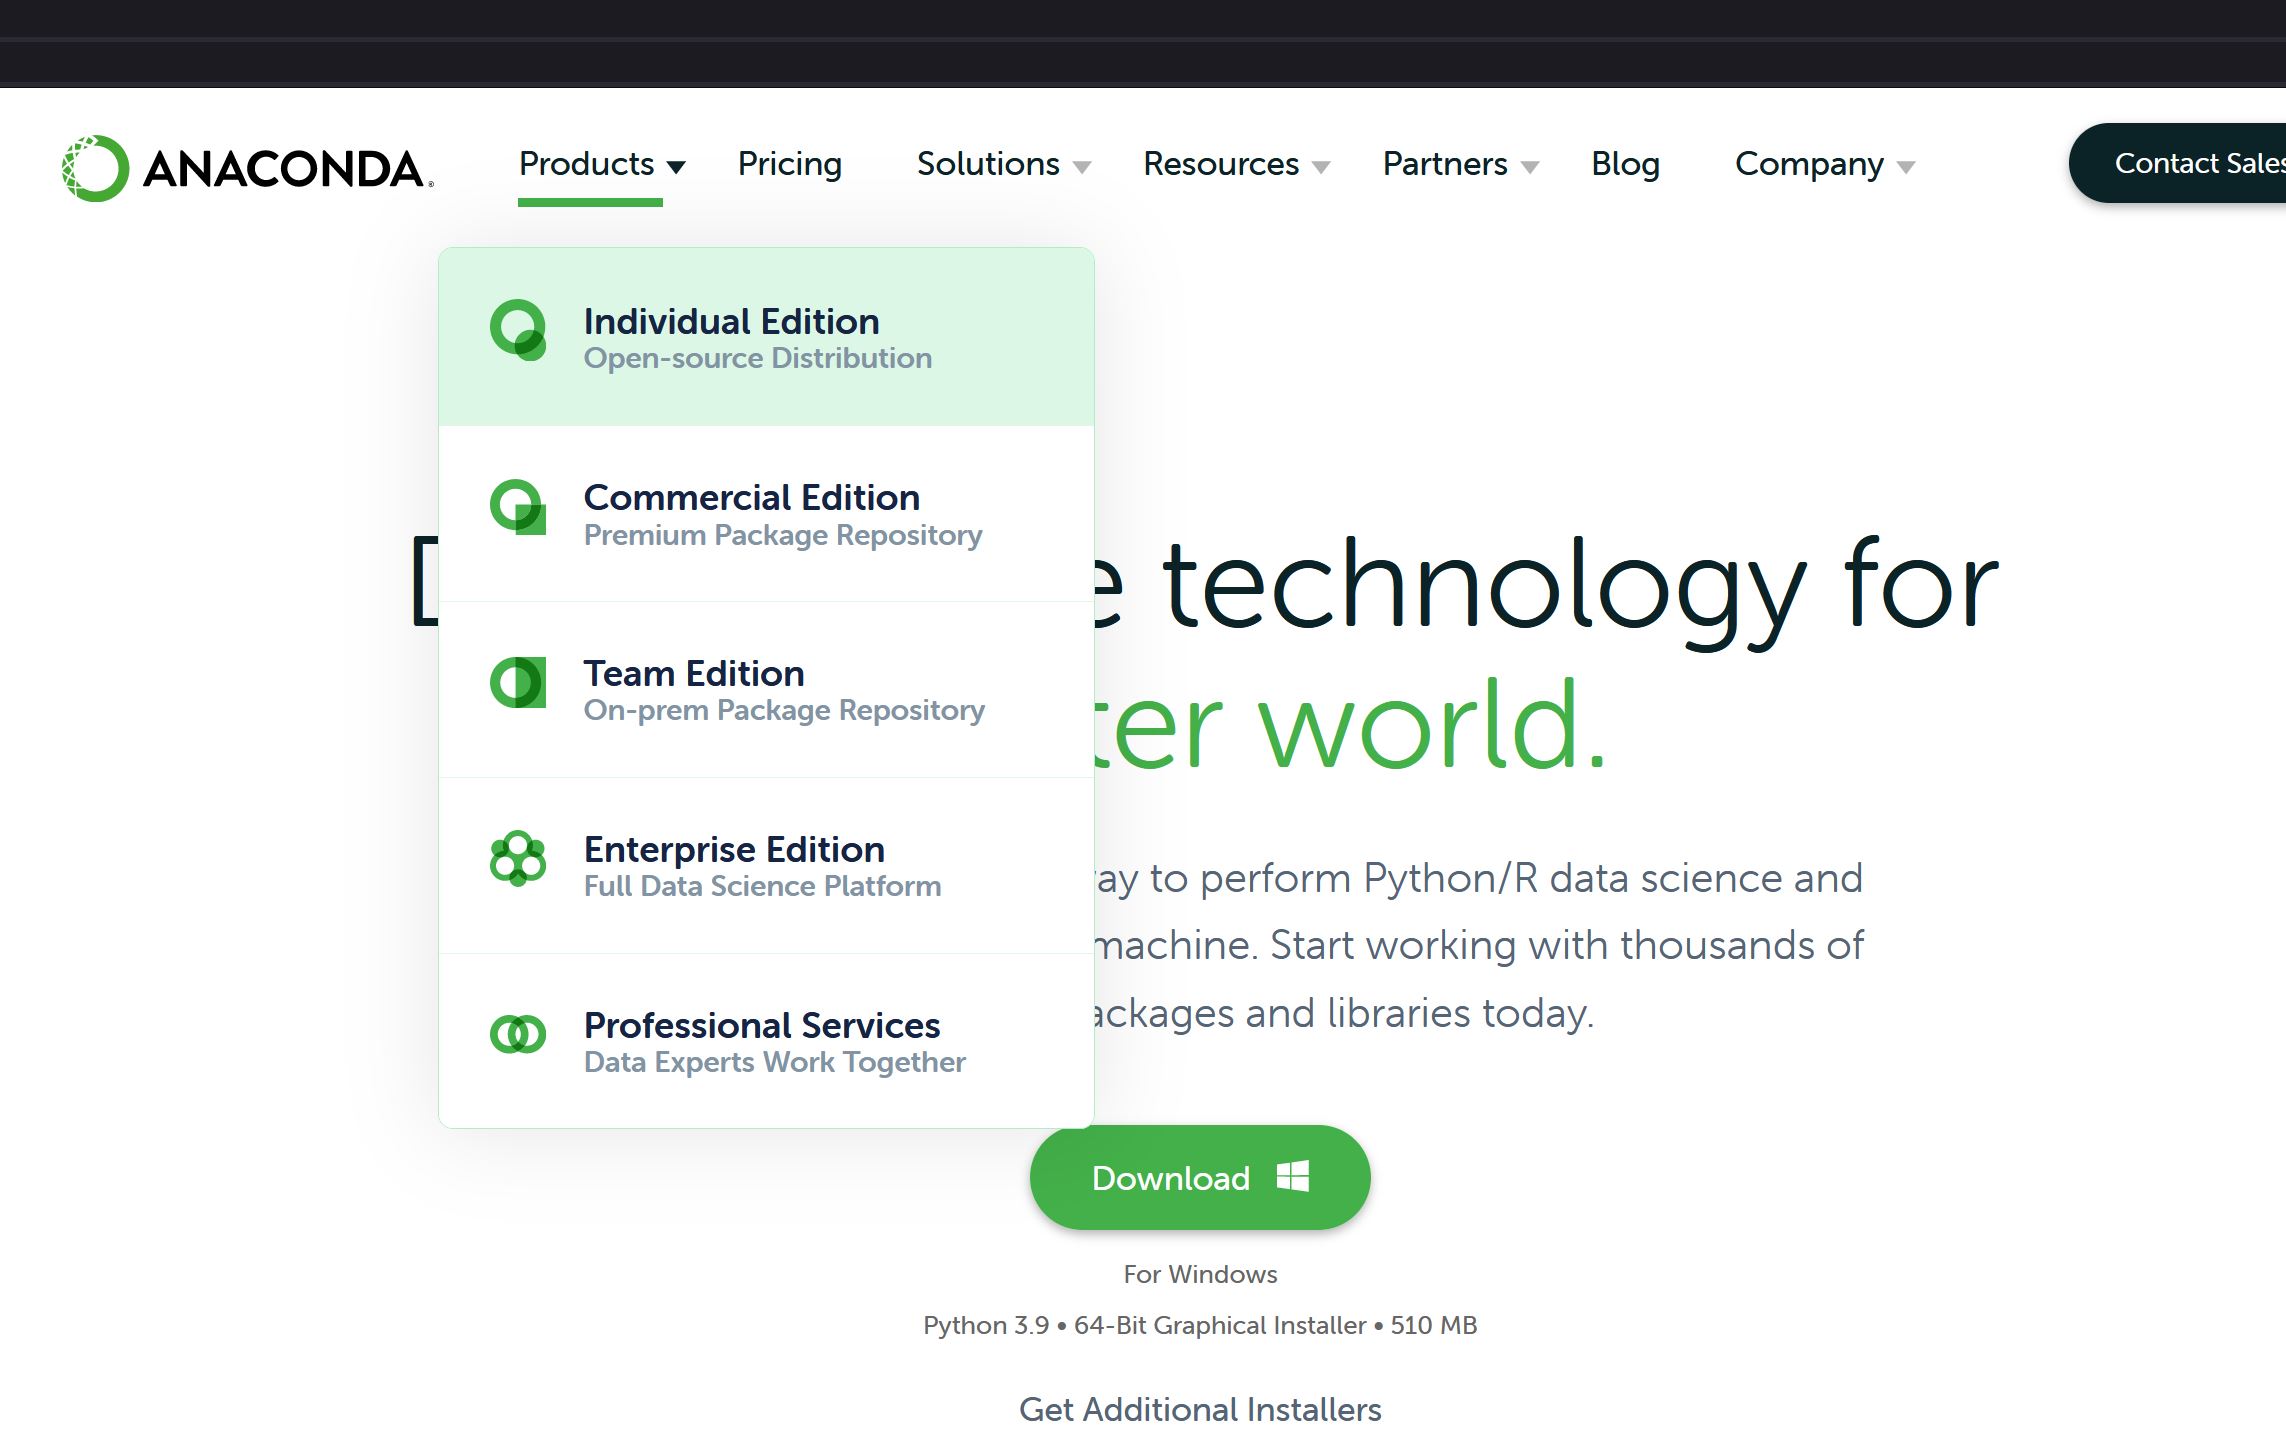
Fig. 1.12 Anaconda’s Homepage.#
Now, click on the Download button as seen in the image below and walk through the installation process on your computer. Once complete, you will have Anaconda Navigator installed.
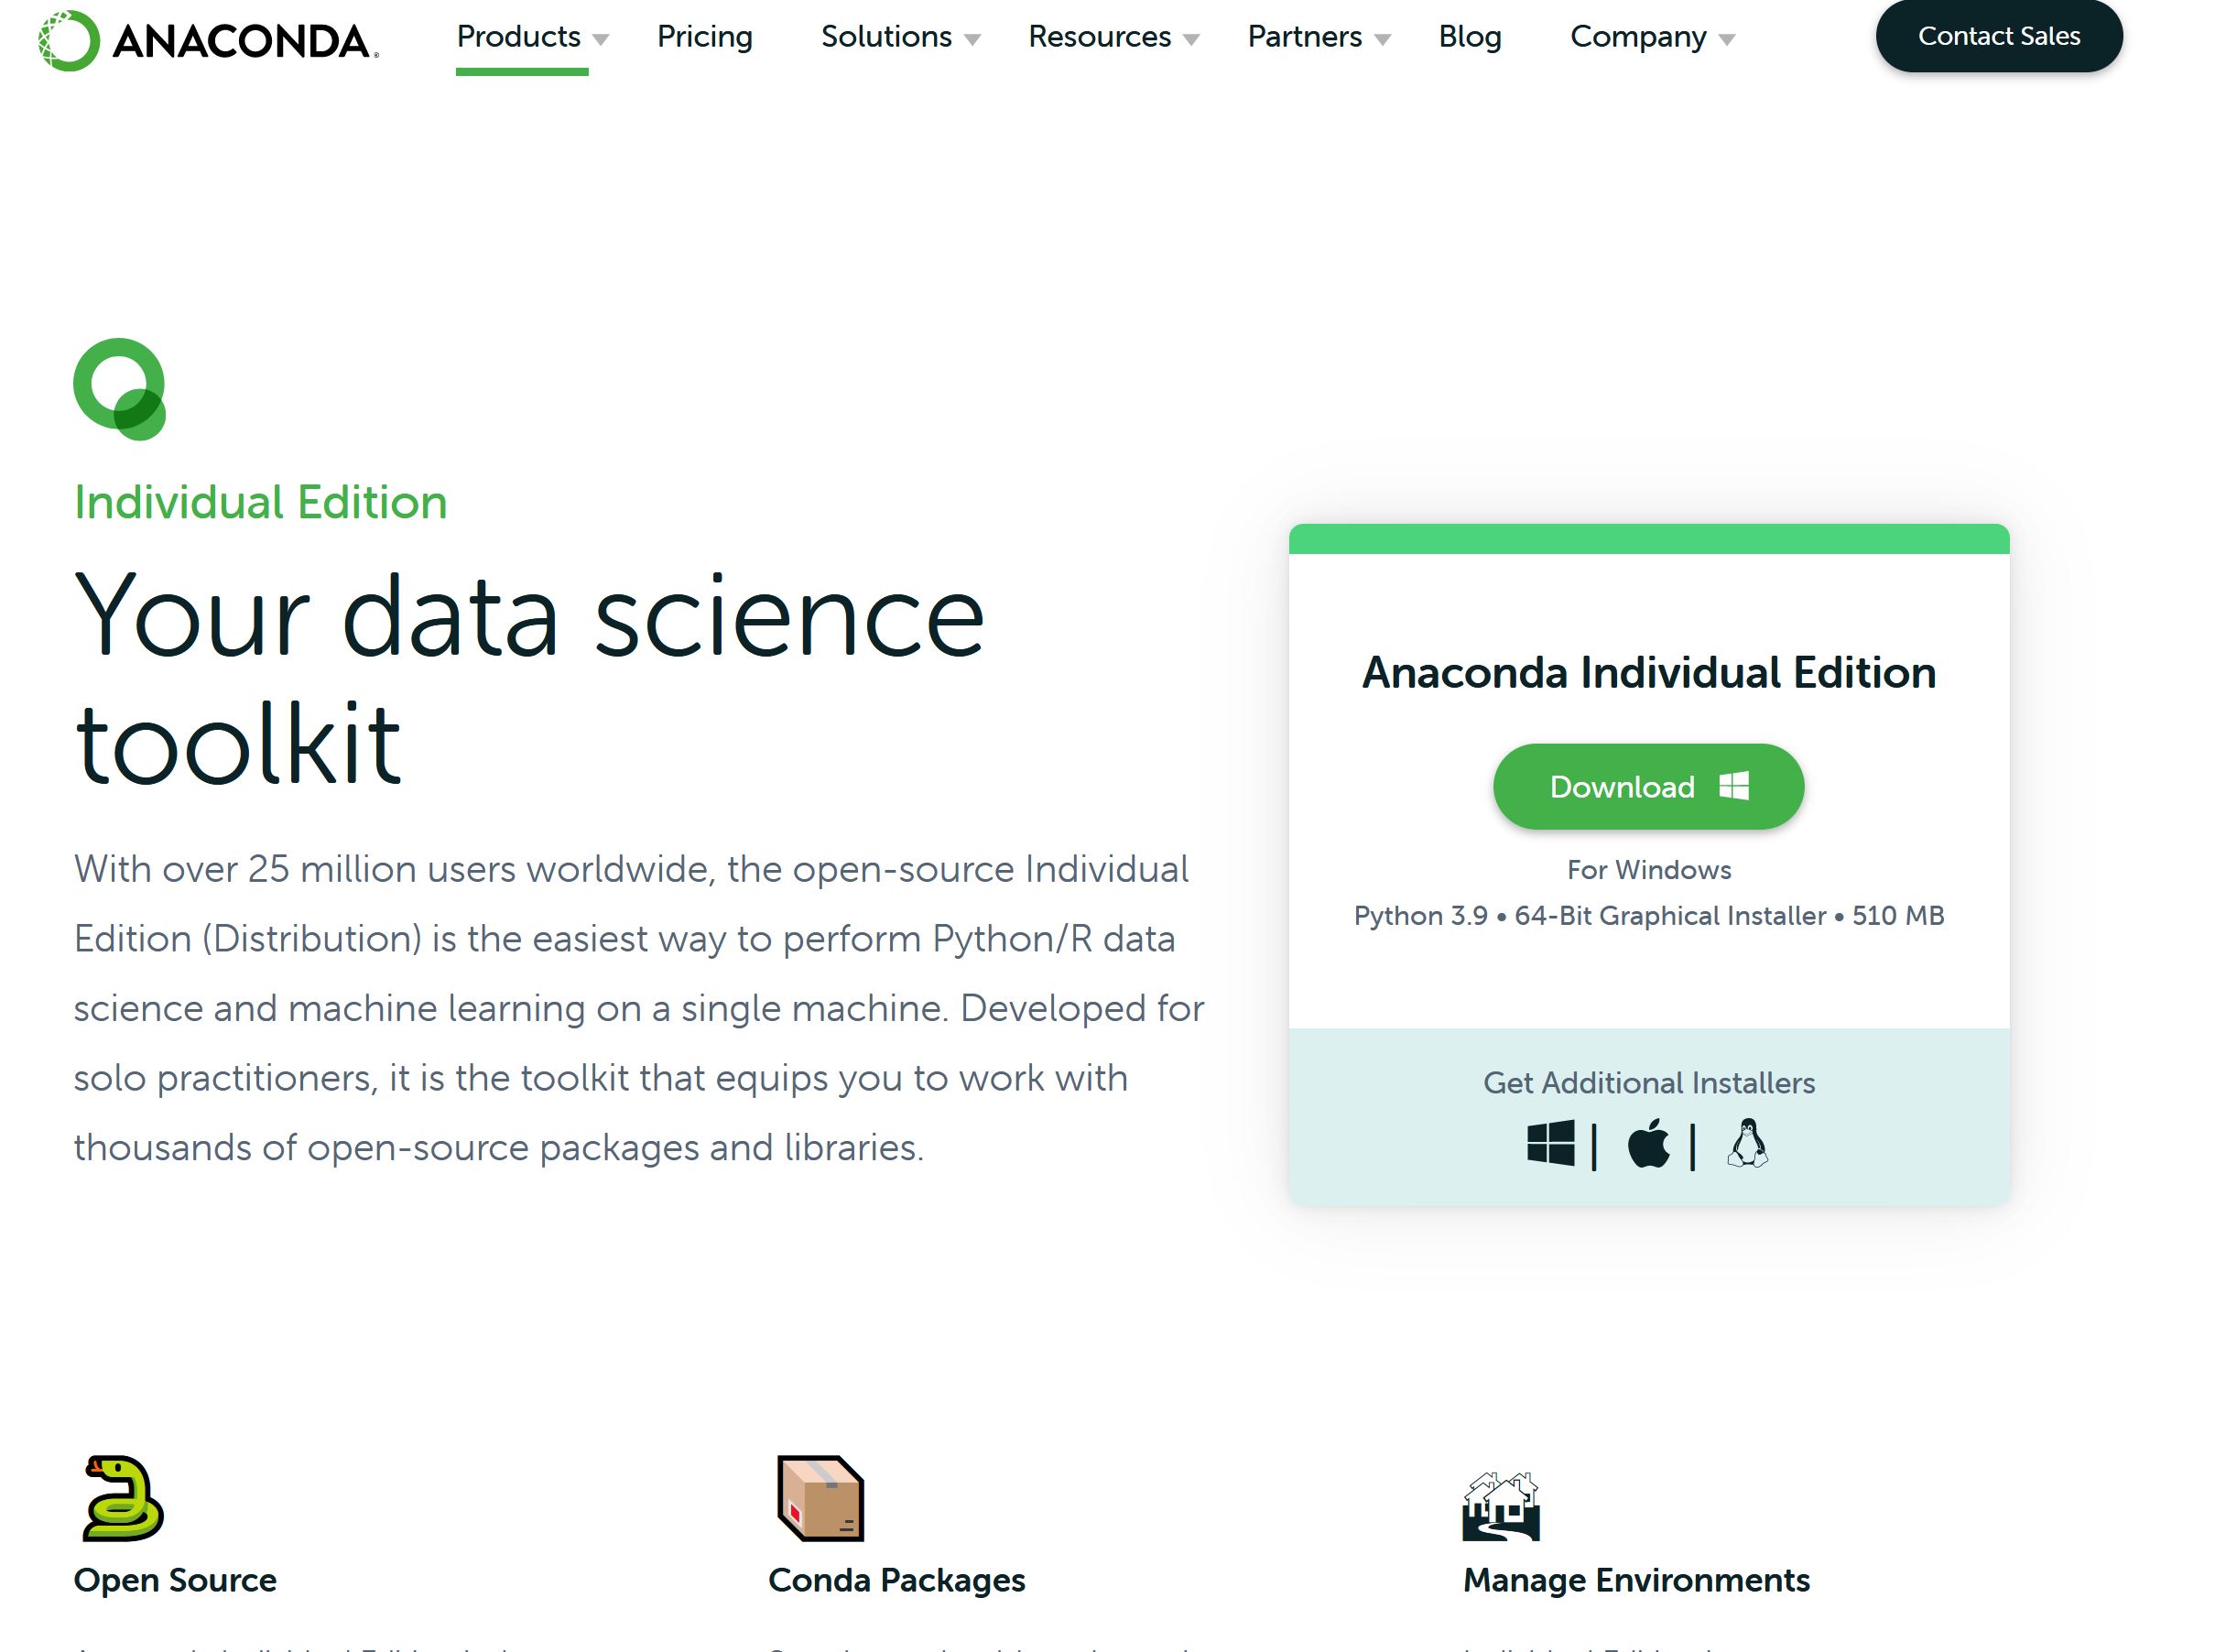
Fig. 1.13 Download Individual Edition.#
1.2.5.2. Using Anaconda Navigator#
Now that Anaconda Navigator is installed, you can use it by opening it up on your computer. When you first see Anaconda Navigator, you will see several options on the left. In environments, you will only see one environment: base. Don’t worry about environments this early in your Python career. For now, we will simply click the Home button on the left.
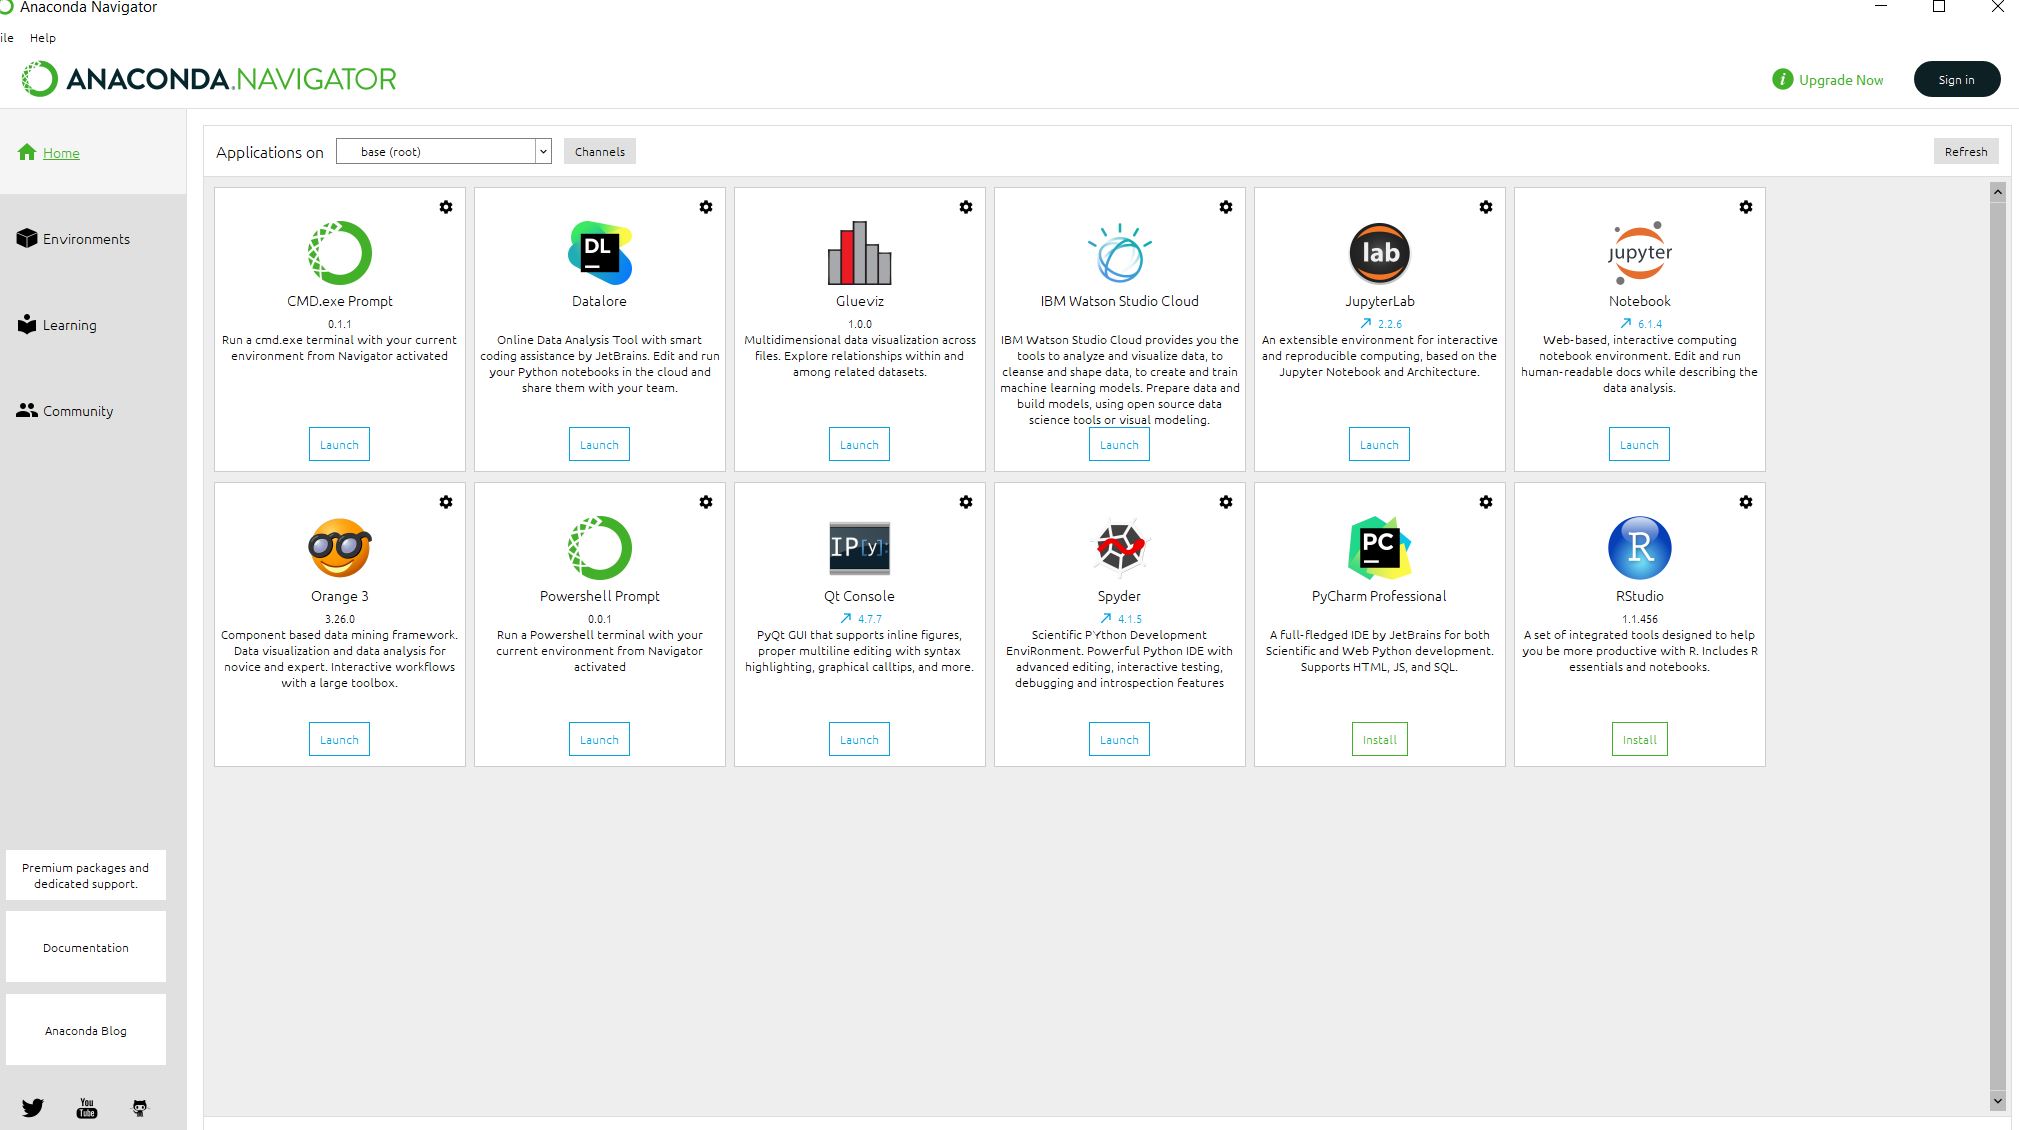
Fig. 1.14 The Anaconda Navigator Main User Interface.#
1.2.5.3. Installing Jupyter-Lab#
In order to start using Python, there are a few different options available to you. You could use a terminal and following along with the textbook, but that can be quite difficult if you are just starting out. Since this textbook was designed in JupyterLab, I think it makes the most sense to install that software. Go ahead and click Install under JupyterLab. Once installed, you will be able to Launch it and follow along with the textbook.
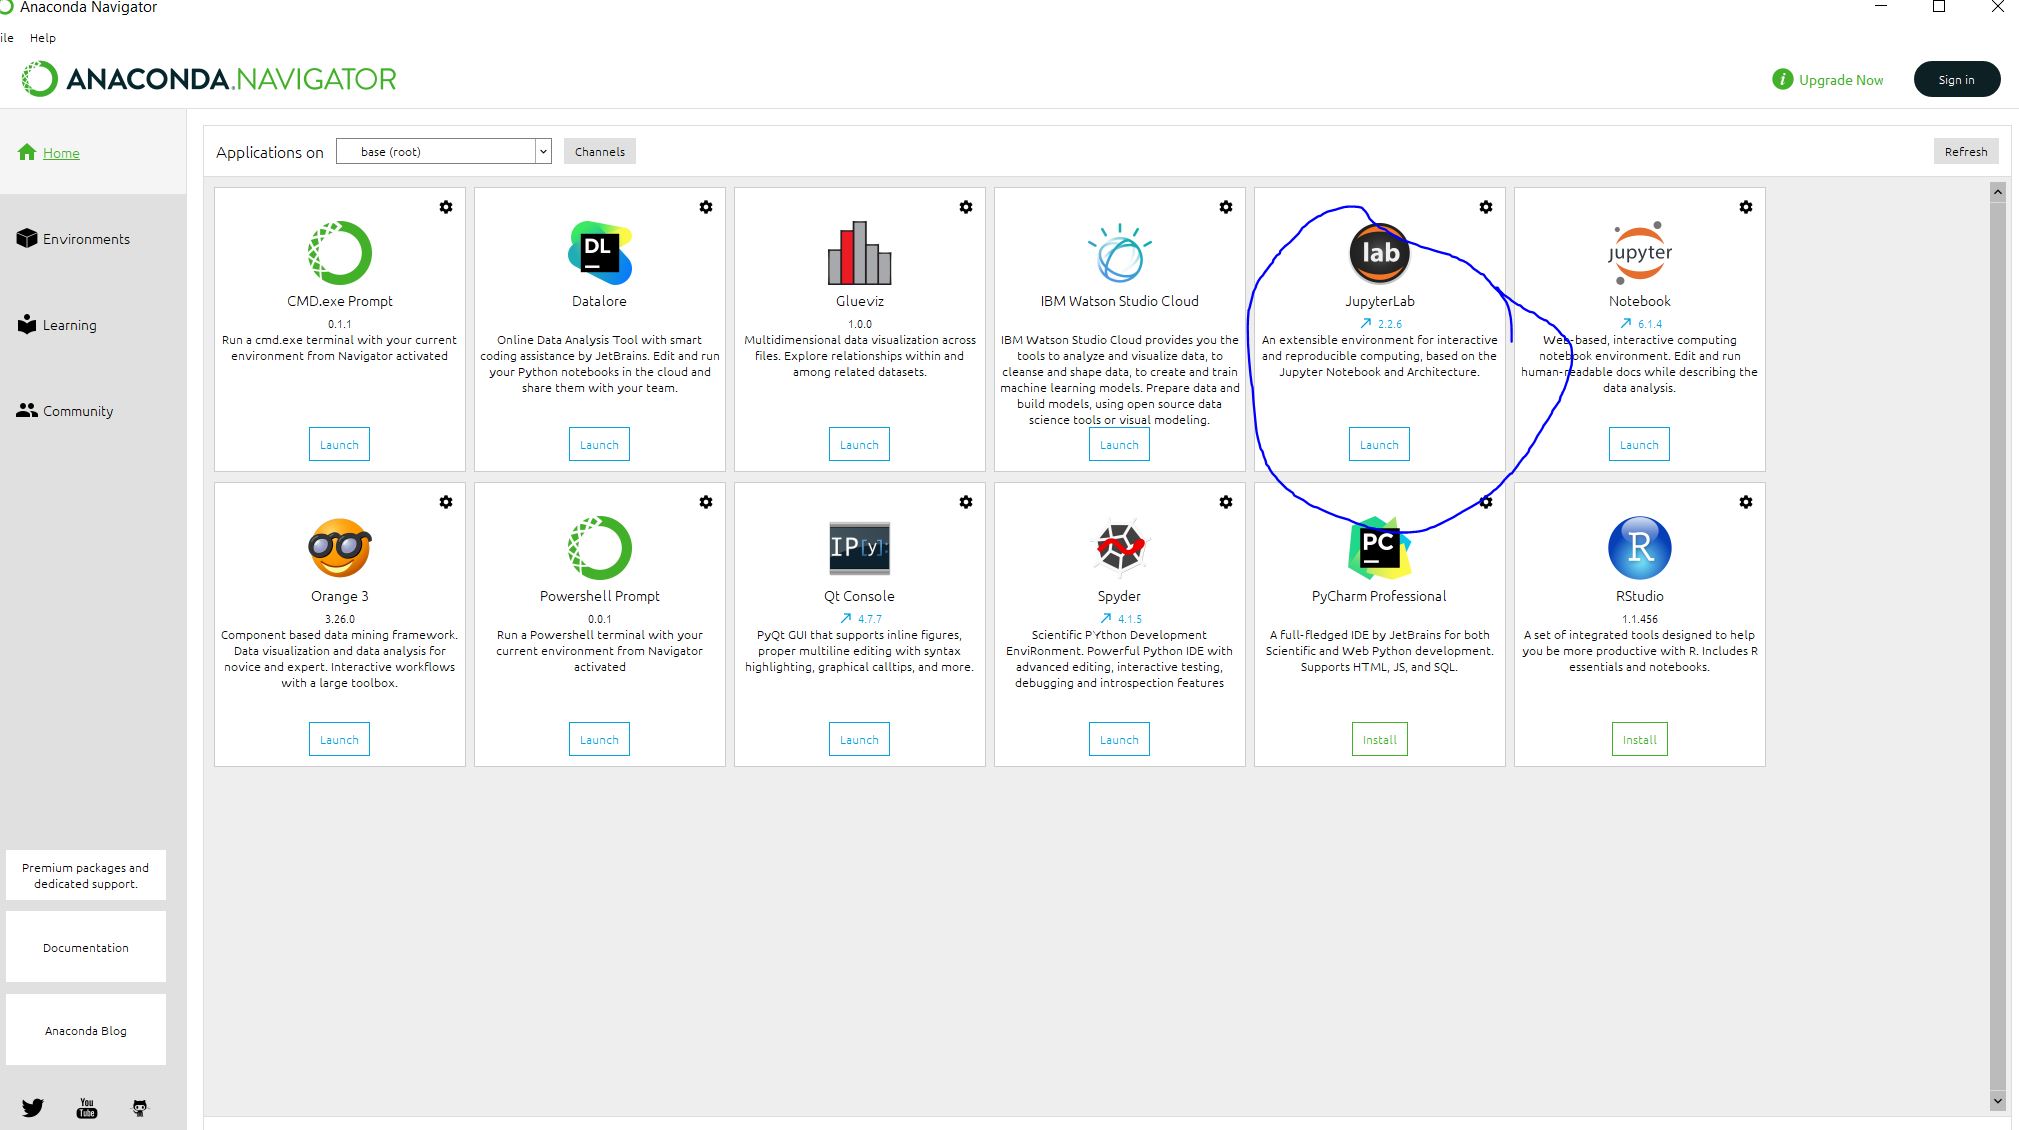
Fig. 1.15 How to Install Jupyter Lab.#
1.2.6. Conclusion#
If at any point in the installation process you get frustrated, do not get discouraged. You are not alone and it is not a simple or easy process. Those who have been programming for years can make these steps look simple, but troubleshooting issues on your own is challenging. It is important to remember that programming in general is challenging. Try to view the challenges that surface as a fun problems that need solving. Try to look at your mistakes through a lens of Bob Ross and view them as happy accidents.