3.2. Deploying an App in the Cloud with Streamlit Share#
Once you have designed an application and have tested it locally, it comes time to share it with others. We can do this with Streamlit by leveraging several different cloud-based services. Fortunately, Streamlit offers a free Streamlit Share service that lets users share their apps for free.
3.2.1. Create a GitHub Account#
In order to deploy your application, you will need a place to store your application’s source code. The easiest way to do this is via GitHub which Streamlit and many other application hosting services support.
3.2.2. Upload Application to GitHub#
Once you have created your GitHub account, you can create a repository and upload the code into the repository. If you are just starting out with GitHub, getting used to Git can be a bit daunting. Git is powerful, but has a steep learning curve. It allows you to maintain your code, especially in teams, and version control everything. This means that your code is always backed up and you can access previous versions of your code at any single time.
To upload your application formally, you would want to be familiar with Git and how to perform basic tasks, such as cloning a repository, adding files to it, committing those changes, and then pushing them to the repository. While this is the better approach, it is not the only one. For now, you can get your application up and running entirely in your browser.
First, we will create a new repository. To do this, we will go to our GitHub main page and select New, found in the top-left side of your screen.
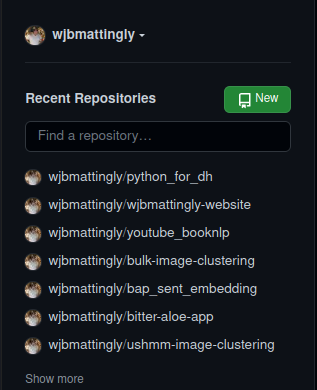
Fig. 3.6 Creating a New GitHub Repository by Selecting New#
Once you click New, you will see the following screen:
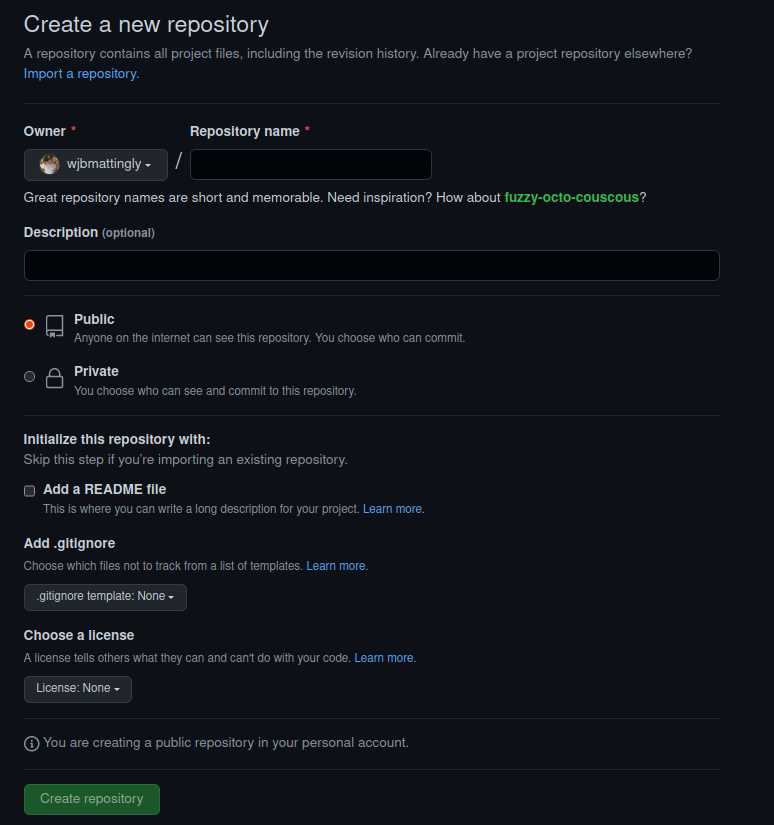
Fig. 3.7 Example of GitHub Form for Creating New Repository#
Here, we will fill out the details of our repository. We need to first give it a unique name. We can keep all other settings the default for now. Once done, we will click Create repository. After this, you will see a new screen that looks like this:
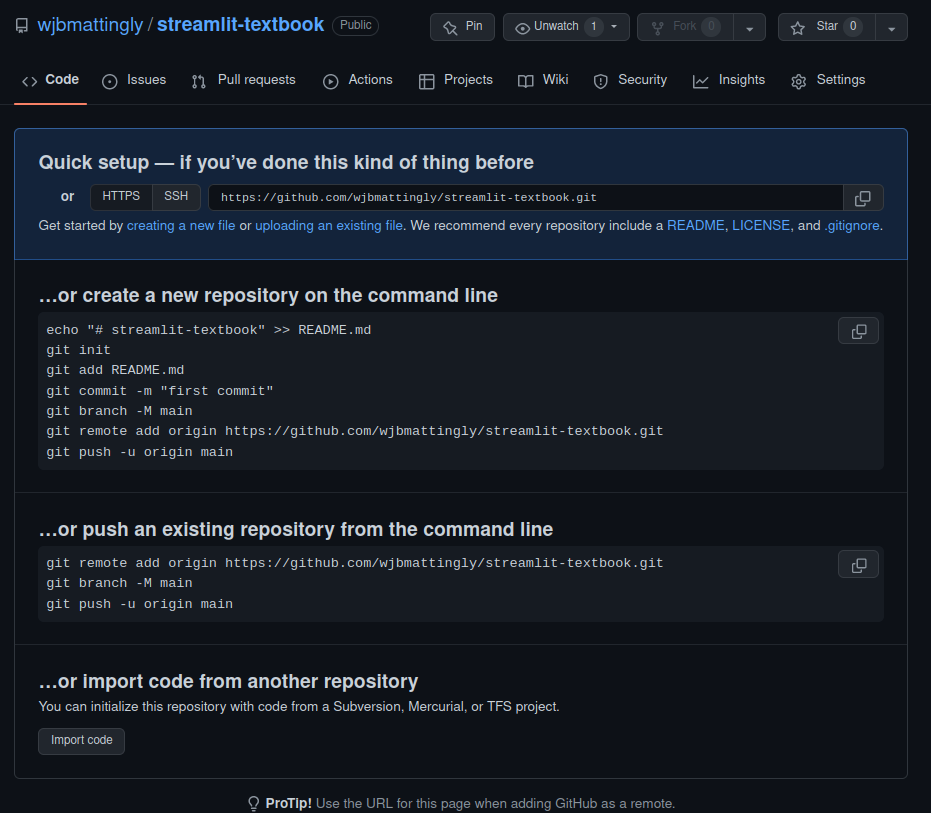
Fig. 3.8 Example of First Screen after Creating New Repository#
You will now select creating a new file. Once you do, you will see a screen that looks like this:
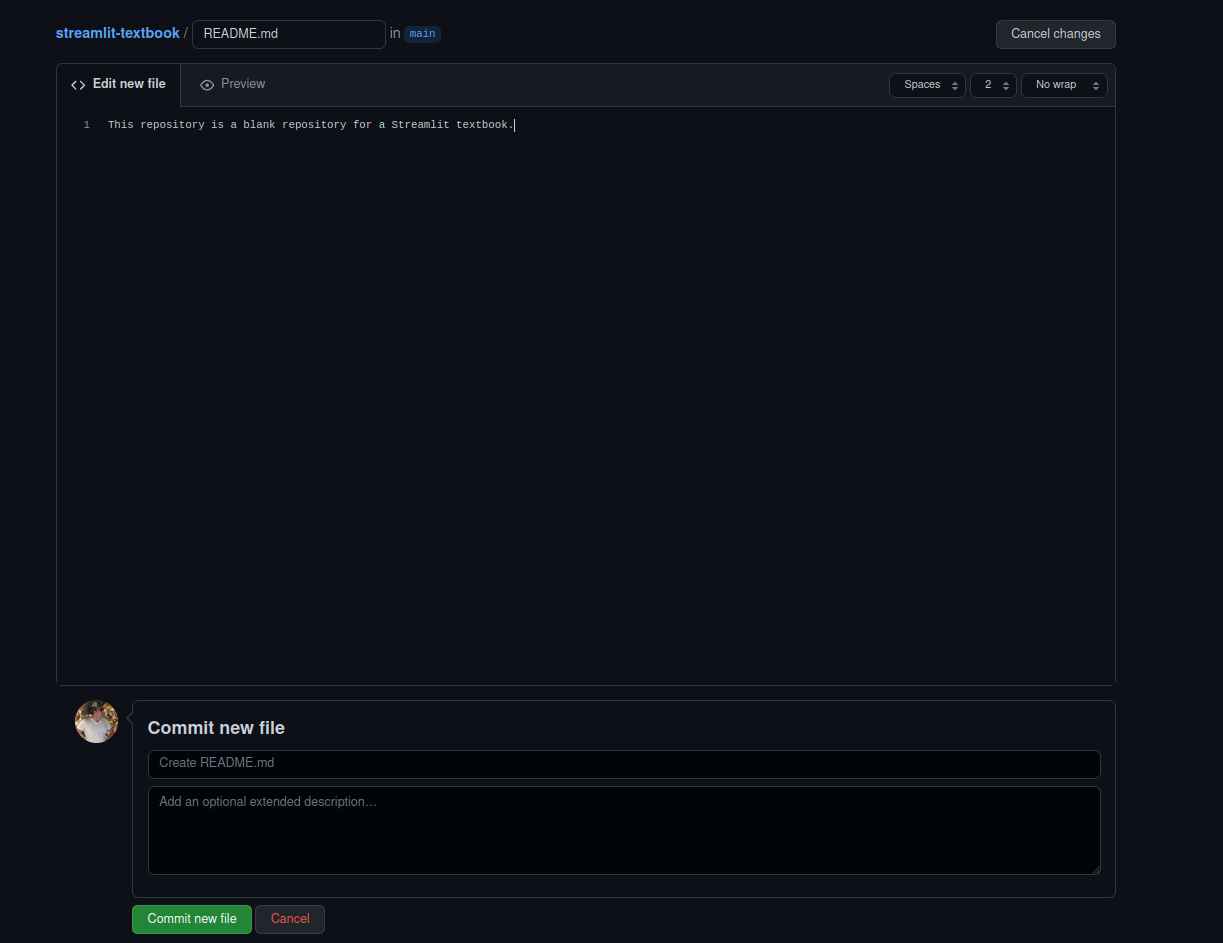
Fig. 3.9 Example of Creating your First File and Commit in the New Repository#
Here, you will create a file called README.md and assign some text to it. This will ideally describe your application. It will be what users see when they visit your GitHub repository. Once you have a description you are happy with, click Commit new file. This will lead to a final new screen.
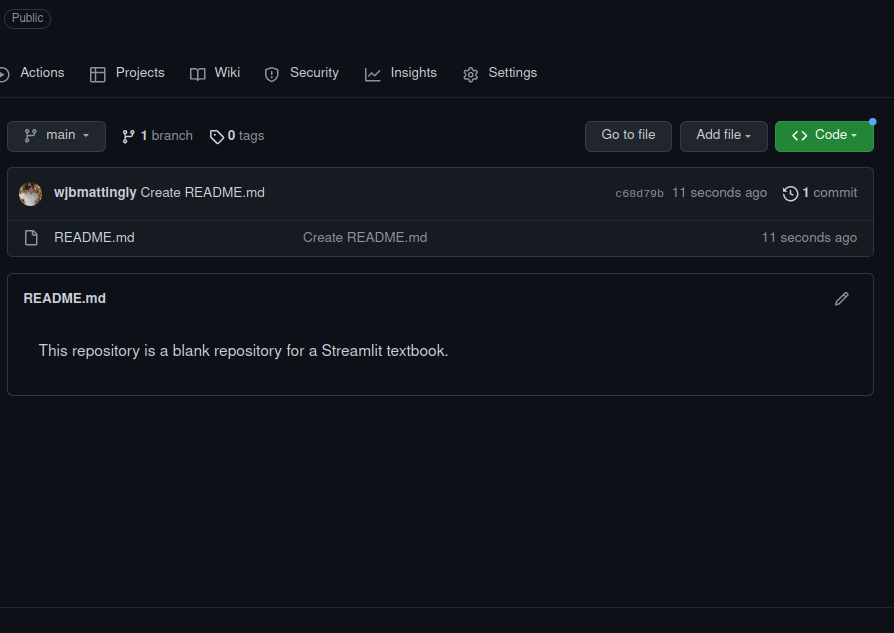
Fig. 3.10 Example of Adding Files to the New Repository#
Next, we need upload our application and data to our repository. To do this, we will click Add file and upload our local files that are necessary for running our Streamlit application. You will also want to make a requirements.txt file lists all required libraries, such as Pandas.
3.2.3. Connect Streamlit Share to your GitHub#
Now that we have our repository created, we need to link Streamlit Share to our GitHub. To do so, you will need to visit https://share.streamlit.io/ Once on this page, you will see a screen that looks like this:
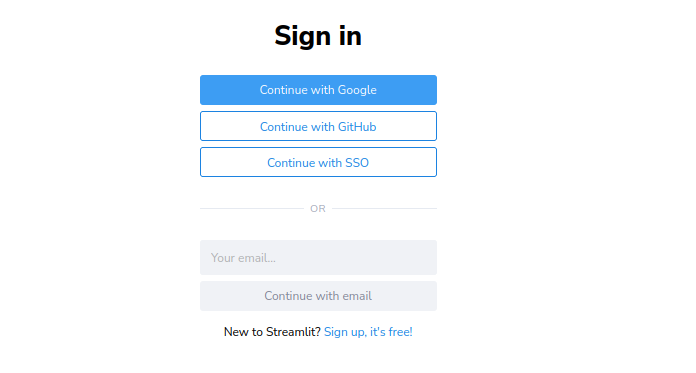
Fig. 3.11 Connecting GitHub to Streamlit Share#
Select Continue with GitHub and use your GitHub credentials for login verification. Once you are logged in, you will see a screen that looks like this at the top:
````{figure} `../images/streamlit/streamlit_mainpage.png Main Screen of Streamlit Share
3.2.4. Create a New App#
Select New App. After a few seconds, you will be taken to a page that looks like this:
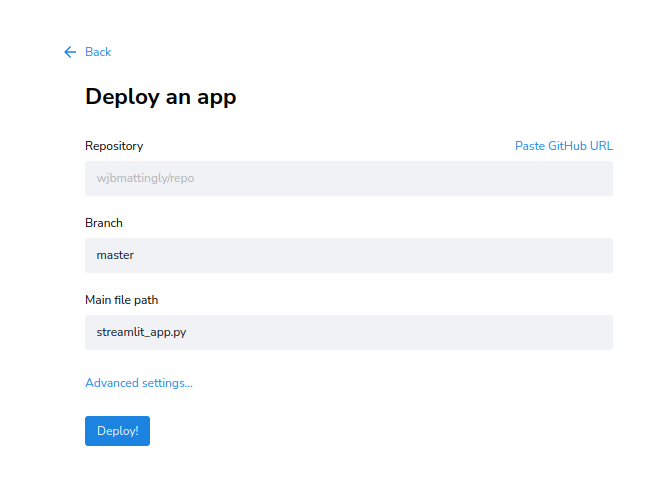
Fig. 3.12 Form for Creating a New Application#
Click on each of these fields. First, select your repository. Streamlit will be connected to your GitHub, so you will be able to see all your repositories, both private and public. Next, select the branch of your repository. We have not covered branches in this textbook. Branches are a function of Git. By default, your application will be on the main branch of your repository. Finally, select the main Python file in which your application rests. Once you have filled out these three fields, click Deploy!.
3.2.5. Set Custom Subdomain#
It will take several minutes (depending on the complexity of your application and the number of required libraries you wish to have installed). At this point, Streamlit Share is building an environment on a server to host your application in the cloud. Once complete, it will provide you with a unique domain for your application with the extension. This will be based on your repository name and your GitHub username. We can create a custom subdomain for free by returning to our Streamlit Share homepage and selecting the three dots next to our application’s name.
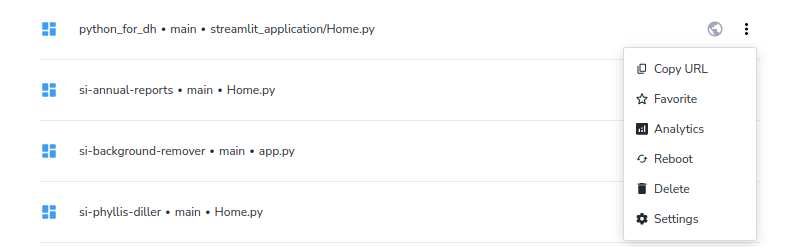
Fig. 3.13 Select the Settings for your Application#
Once here, select Settings and you will see a page that looks like this:
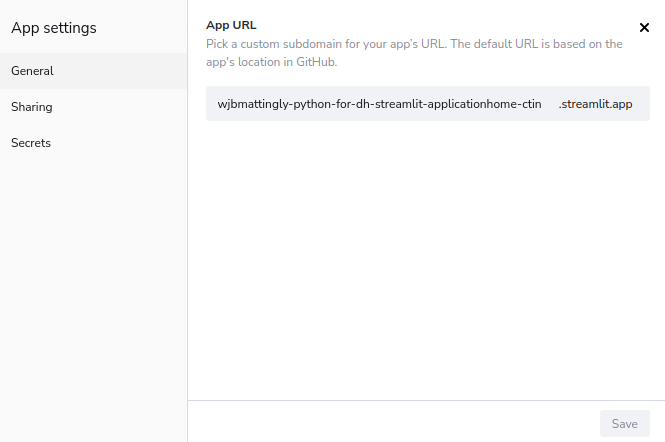
Fig. 3.14 The Default URL for your Application#
Note that in the middle of the screen, you will see your long subdomain. You can now change it to something unique and easier to remember for distributing to users. After you change your subdomain, click Save.
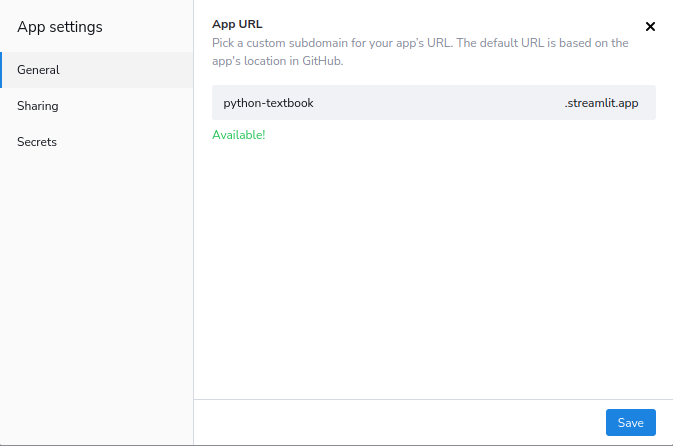
Fig. 3.15 The New URL for your Application#
Now, your app is in the cloud with a unique and easy-to-remember subdomain!